Garage doors safeguard our vehicles and other valuable possessions, providing a secure barrier between our homes and the outside world. However, gaps along the sides of the garage door can undermine this security, allowing unwanted elements like cold drafts, insects, and even intruders to infiltrate our garages. These gaps not only compromise the door’s effectiveness but can also lead to energy loss, increased repair costs, and potential safety hazards.
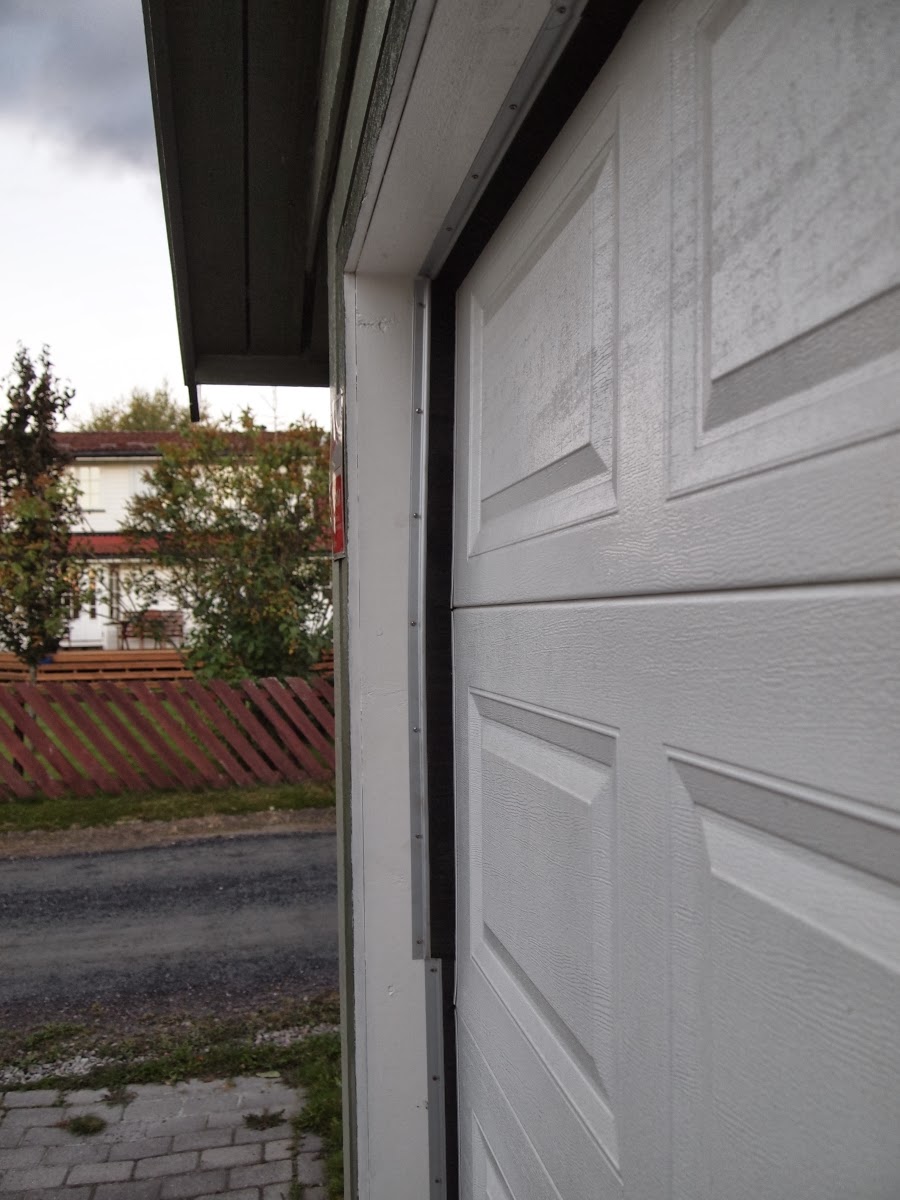
Image: wanderingaxeman.blogspot.com
A Comprehensive Guide to Sealing Garage Door Gaps: A Journey Towards a Secure and Efficient Garage
Fortunately, with a bit of patience and the right techniques, you can effectively seal these gaps, restoring your garage door to its former glory and ensuring the safety and integrity of your garage space. Embark on this comprehensive guide as we delve into the realm of garage door gap sealing, empowering you with the knowledge and tools to tackle this task with confidence.
Step 1: Assessing the Gaps and Gathering Your Arsenal
Begin by thoroughly inspecting your garage door, pinpointing the areas where gaps are present. These gaps can occur alongside the vertical tracks or near the header, where the door meets the ceiling. Once you have a clear understanding of the extent of the gaps, it’s time to assemble your arsenal of sealing materials. For this task, you’ll need weatherstripping, a sturdy sealant, and possibly some foam backer rod to fill larger gaps.
Step 2: Sealing the Vertical Gaps – A Battle Against Drafts and Unwanted Visitors
To combat the gaps along the vertical tracks, we enlist the aid of weatherstripping. This self-adhesive foam or rubber strip comes in a variety of shapes and sizes, allowing you to choose the one that best fits your garage door’s profile. Carefully clean and dry the surfaces where the weatherstripping will be applied, ensuring a strong bond. Gradually peel away the backing of the weatherstripping and firmly press it into place, ensuring a snug fit against the door and the frame.
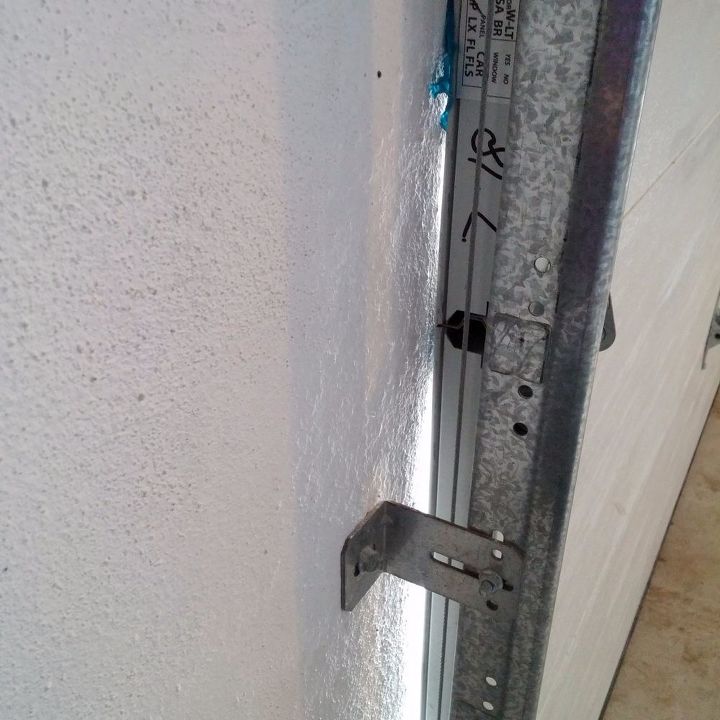
Image: www.hometalk.com
Step 3: Tackling the Header Gap – Sealing the Breach for Energy Efficiency
The header gap, where the garage door meets the ceiling, presents a different challenge. To effectively seal this gap, we turn to a trusty sealant. Apply a generous bead of sealant along the length of the gap, taking care to fill any voids or cracks. Smooth out the sealant using a putty knife or your finger, creating a uniform and airtight seal.
Step 4: Utilizing Foam Backer Rod – A Strategic Filler for Enhanced Insulation
If the gaps you encounter are particularly wide, consider employing foam backer rod to provide a solid base for the sealant. Insert the foam rod into the gap, compressing it slightly to create a snug fit. This additional layer will enhance the effectiveness of the sealant, further reducing air infiltration and improving the door’s insulation properties.
Step 5: A Finishing Touch – Reinforcing the Weatherstripping
Once the sealant has cured, it’s time to add an extra layer of protection by reinforcing the weatherstripping. This simple step involves applying a thin bead of sealant along the edges of the weatherstripping, ensuring it adheres tightly to the door and the frame. This will further enhance the seal, preventing drafts from sneaking through any potential gaps.
Expert Insights: The Secrets of Professional Garage Door Sealing
-
For optimal results, opt for weatherstripping designed specifically for garage doors. These products are engineered to withstand the rigors of repeated use and harsh weather conditions.
-
When choosing a sealant, select one that is paintable, allowing you to match the color of your garage door for a seamless finish.
-
For gaps wider than half an inch, consider using a combination of foam backer rod and sealant for a more effective and durable repair.
How To Fix Garage Door Gaps On Sides
Conclusion: The Gratifying Reward of a Well-Sealed Garage Door
With these simple yet effective techniques, you now possess the knowledge and skills to successfully seal any gaps on your garage door’s sides. By following these steps, you’ll restore your garage to its former glory, safeguarding your vehicles and possessions from the elements. Moreover, you’ll enjoy increased energy efficiency, leading to potential savings on your utility bills. Embrace the satisfaction of a well-sealed garage door, a testament to your hard work and dedication to maintaining a secure and functional home.
