Marble, an exquisite stone gracing homes and structures for centuries, embodies elegance and timelessness. However, accidents can leave unsightly chips, marring its pristine surface. If you find yourself facing this dilemma, despair not! With the right approach and a touch of patience, you can restore your marble’s former glory, rejuvenating its allure.
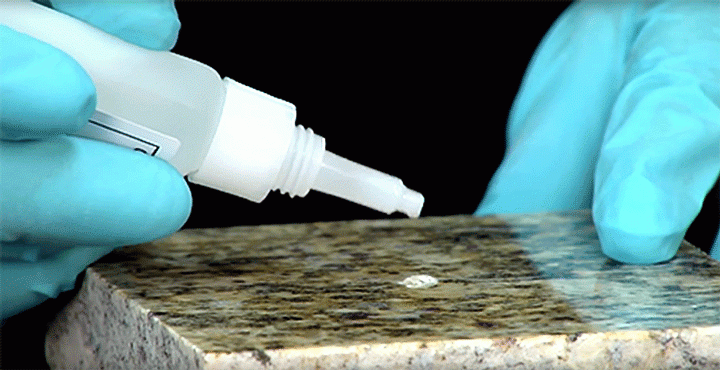
Image: marble.com
Understanding the Art of Chip Repair
Cracks occur when marble is subjected to excessive force or temperature fluctuations, resulting in the separation of its crystalline structure. Restoring a chipped surface necessitates bonding the fragmented pieces back together while ensuring a seamless transition between the repair and the surrounding marble.
Step-by-Step Refinement: A Path to Marble Restoration
1. Damage Assessment:
Begin by scrutinizing the chip, determining its depth, size, and shape. This assessment will guide your choice of repair materials and techniques.
2. Cleaning Preliminaries:
Thoroughly cleanse the chipped area using a mild soap solution. Avoid abrasive cleaners that could further damage the marble. Once cleaned, let the surface dry completely.
3. Selecting the Right Adhesive:
For chips less than 1/4 inch deep, epoxy adhesives provide a strong and durable bond. Choose an epoxy resin specifically formulated for marble, ensuring a secure hold.
4. Filling the Void:
Apply a small amount of epoxy to both the chip and the surrounding marble. Carefully spread the epoxy into the chipped area, ensuring uniform distribution. Utilize a spatula or toothpick for precision.
5. Leveling the Repair:
Create a smooth transition between the repair and the surrounding marble using a damp sponge or cotton ball. Wipe away any excess epoxy while maintaining evenness.
6. Curing Time:
Allow the epoxy to cure according to the manufacturer’s instructions. Avoid touching or disturbing the repair during this period.
7. Honing and Polishing:
Once fully cured, the repair area may require honing and polishing to match the surrounding marble’s finish. Use a wet grinder or sanding sponge for honing, progressively reducing the grit until the repair is flush with the surface.
8. Sealing for Protection:
Apply a penetrating sealer specifically designed for marble to protect the repaired area from moisture, stains, and future chipping.
Expert Advice for Flawless Restoration
-
For complex chips or cracks, consider consulting with a skilled marble restoration professional.
-
Practice using the adhesive and tools on an inconspicuous area before attempting the actual repair.
-
Utilize proper safety gear, including gloves and a respirator, when handling epoxy resins.
-
Patience is paramount. Allow ample time for each step of the repair process to achieve optimal results.
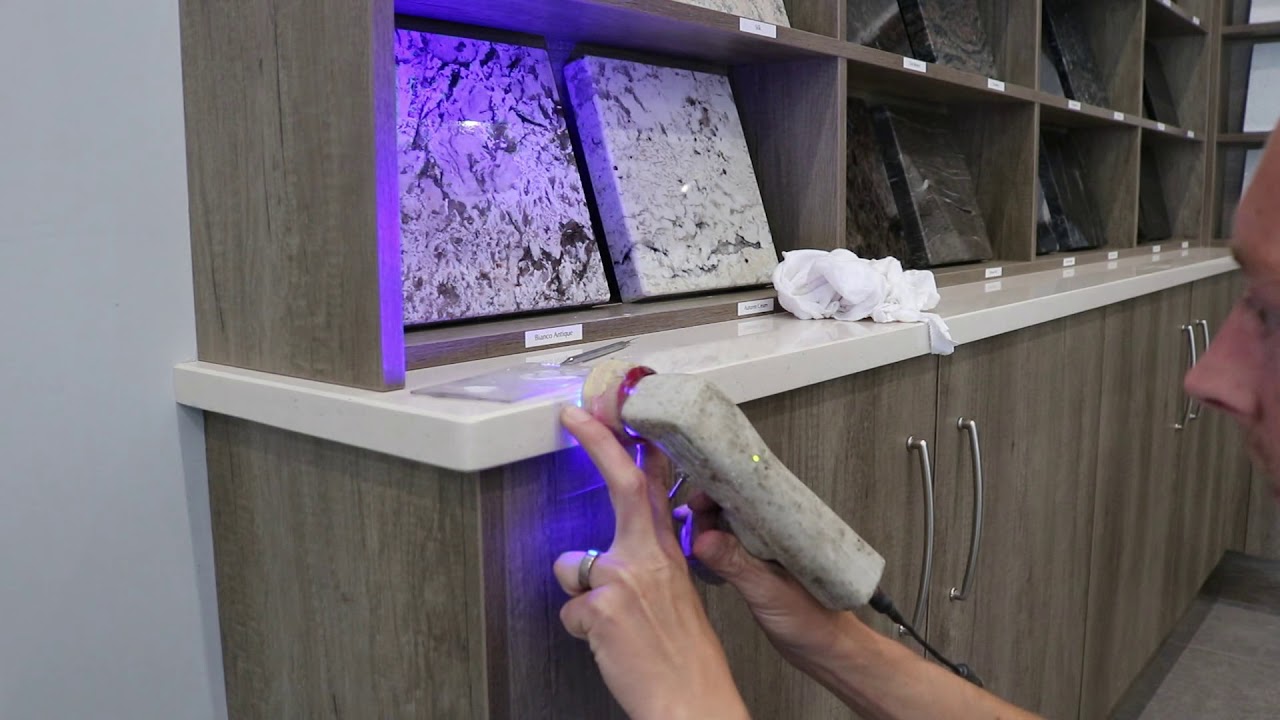
Image: www.youtube.com
How To Fix A Chip In Marble
Conclusion: Embracing Imperfections, Preserving Beauty
Marble, like life, can bear witness to wear and tear, but its timeless beauty can be rejuvenated. By understanding the process of chip repair and applying the techniques outlined above, you can restore your marble to its former glory. Embrace the imperfections that add character and remember that each repaired chip serves as a testament to the enduring nature of both marble and the human spirit.
