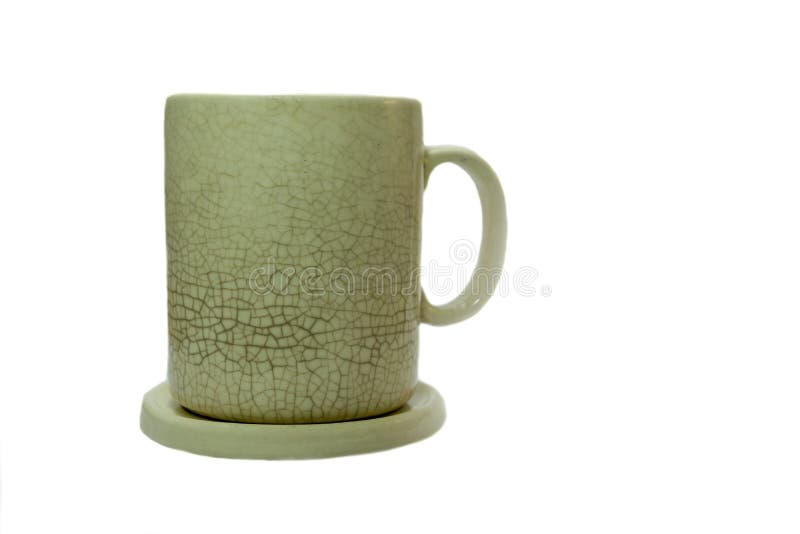
Do you have a favorite ceramic mug that has met an untimely demise, succumbing to a clumsy mishap? Despair not! With a touch of patience and the right techniques, you can restore your beloved mug to its former glory. Embrace the spirit of kintsugi, the Japanese art of repairing broken pottery with lacquer mixed with gold, silver, or platinum, and transform your cracked mug into a unique and cherished work of art.

Image: www.dreamstime.com
Understanding Ceramic Mug Cracks: Types and Causes
Cracks in ceramic mugs can manifest in various forms, each with its distinct characteristics. Superficial cracks, also known as crazing, are fine hairline fissures that do not penetrate the entire thickness of the mug’s material. More severe cracks may extend through the entire mug, compromising its structural integrity and potentially even spilling your precious liquids.
Cracks can arise from several factors, including thermal stress, which occurs when a mug is subjected to sudden temperature changes, such as when hot liquid is poured into a cold mug. Mechanical stress, caused by accidental drops or bumps, can also lead to cracks. Additionally, inherent flaws within the ceramic material or improper firing during manufacturing can make mugs more susceptible to cracking.
Essential Tools for Ceramic Mug Repair
Before embarking on your repair mission, gather the necessary tools to ensure a successful outcome. These include:
-
Epoxy adhesive: Opt for a specifically formulated epoxy adhesive designed for ceramic repairs.
-
Fine sandpaper: Choose sandpaper with a grit rating of 120 to 220 for smoothing rough edges and surfaces.
-
Mixing tray and sticks: A mixing tray and wooden or plastic sticks are convenient for preparing and applying the epoxy.
-
Toothpicks: Toothpicks aid in applying epoxy into narrow cracks and removing excess adhesive.
-
Rubbing alcohol or acetone: These solvents effectively clean and degrease surfaces before applying the epoxy.
-
Wax paper: Wax paper serves as a non-stick barrier to prevent the repaired mug from adhering to your work surface.
Optional but highly recommended tools include:
-
Ceramic glaze: If the crack is visible, touching up the area with ceramic glaze can enhance the repaired mug’s aesthetic appeal.
-
Glaze brush: A delicate glaze brush facilitates precise application of the glaze.
-
Kiln: While optional, using a kiln can fire the repaired mug at an appropriate temperature to enhance the glaze’s durability. However, if you do not have access to a kiln, air-drying the glaze is an acceptable alternative, although it may result in a less durable finish.

Image: www.youtube.com
How To Fix Cracked Ceramic Mug
Step-by-Step Repair Instructions
Now that you have assembled your tools, let’s delv