Introduction:
Walking into a room adorned with stunning wood floors is an experience that evokes a sense of warmth and elegance. However, the heart sinks when you notice unsightly gouges marring the once-pristine surface. These gouges can be the result of dropped objects, furniture mishaps, or even pet claws. They not only compromise the floor’s aesthetic but can also pose safety hazards if left unattended. Repairing these gouges may seem like a daunting task, but with the right tools and techniques, you can restore your floors to their former glory.

Image: www.rocktherm.com
A Dive into the Repair Process:
Before embarking on the repair journey, it’s crucial to identify the type of finish on your wood floors. Understanding the composition of the finish will help you choose the most suitable repair method. Common types of finishes include polyurethane, oil-based, and water-based finishes.
1. Assessing the Gouge:
The extent and depth of the gouge will determine the repair approach. For shallow gouges that only affect the protective finish, a simple touch-up might suffice. However, if the damage extends deeper, reaching the wood beneath, more extensive repairs may be necessary.
2. Preparing the Surface:
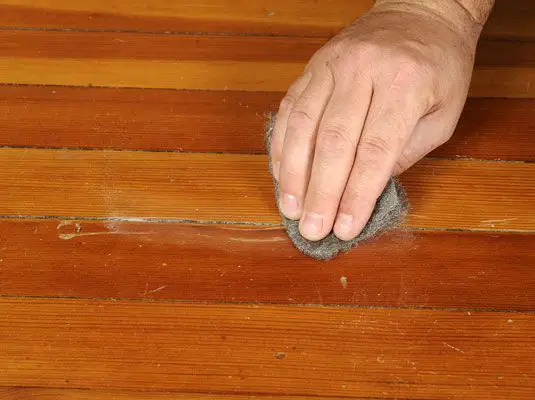
Thoroughly clean the damaged area to remove any dirt or debris. This will ensure a clean surface for proper adhesion during repairs. Sand the area around the gouge using fine-grit sandpaper to create a smooth transition for the repair material. Remove any sanding dust using a tack cloth or vacuum.

Image: floorcarekits.com
3. Selecting the Repair Material:
Depending on the severity of the gouge, you can choose from various repair materials. For minor scratches and gouges, wood filler or touch-up pens can effectively blend in with the surrounding wood. For deeper gouges, wood putty or epoxy resin provides the strength and durability needed to fill the void.
4. Applying the Repair Material:
Fill the gouge with the selected repair material using a putty knife or application brush. For larger gouges, apply multiple thin layers, allowing each layer to dry completely before adding the next. Sand the dried repair material to match the surrounding wood surface and create a smooth transition.
5. Matching the Stain:
If the gouge extended into the wood, staining may be necessary to match the repaired area with the surrounding wood. Test the stain on an inconspicuous area to ensure the correct color match. Apply the stain using a brush or cloth and allow it to dry completely.
6. Protecting the Repair:
After the stain has dried, apply a clear finish over the repaired area. This will protect the repair and enhance its durability. For a seamless blend, use the same type of finish as the original floor finish. Choose a matte, satin, or glossy finish to match the existing sheen.
Expert Insights and Actionable Tips:
“When repairing gouges on polyurethane-finished floors, a trick is to use a credit card as a straight edge while applying the finish,” advises George, a flooring expert with over two decades of experience. “This will give you clean, straight lines and a professional-looking finish.”
“If you’re facing a deep gouge that exposes the bare wood, don’t despair,” adds Emily, a renowned woodworker. “After cleaning, simply mix sawdust from the sanding process with a small amount of wood glue to create a paste. Fill the gouge with this paste and let it dry before sanding and finishing.”
How To Fix Gouged Wood Floors
Conclusion:
Restoring gouged wood floors may seem like a daunting task, but with the techniques outlined in this guide, you can confidently repair those unsightly blemishes. Remember to choose the appropriate repair material, follow the steps carefully, and don’t hesitate to seek guidance from experts if needed. With patience and attention to detail, you can restore your wood floors to their original splendor and enjoy their beauty for years to come.