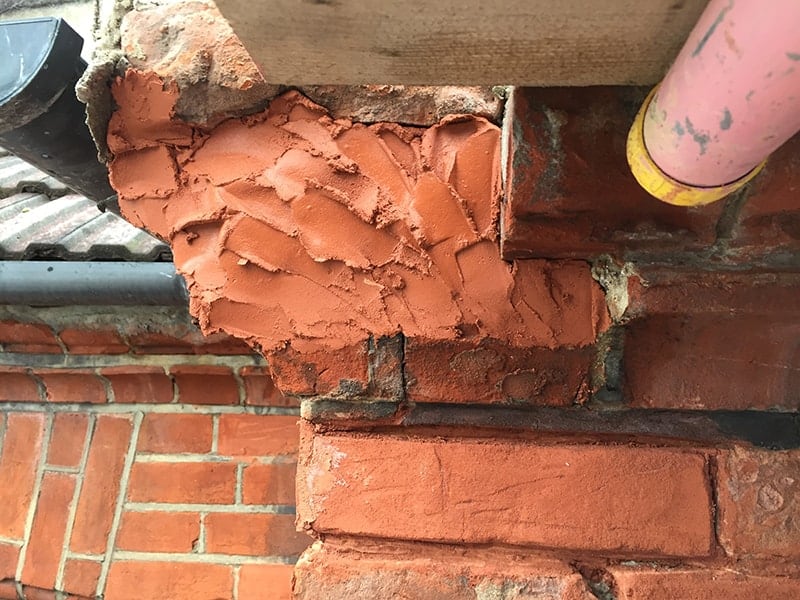
Sturdy brick structures are admired for their longevity and aesthetic appeal. However, even the most resilient edifices occasionally develop loose bricks, compromising their structural integrity and overall appearance. Whether you’re dealing with a minor wobble or a more significant detachment, addressing loose bricks promptly is essential to prevent further damage.

Image: www.pinterest.com
Fret not, fellow homeowner! Fixing a loose brick is a manageable task that can be achieved with some basic tools and a bit of know-how. In this comprehensive guide, we’ll delve into the intricacies of loose brick repair, leaving you empowered to restore the stability of your cherished brick structure.
IDENTIFYING A LOOSE BRICK: A Keen Eye
A loose brick is often easy to spot. If a brick appears to protrude from the wall’s surface or wiggles when touched, it’s likely loose and in need of attention. To confirm, gently tap the brick with the handle of a hammer or screwdriver. A dull sound indicates a loose brick, while a sharp sound signifies a secure one.
Neglecting a loose brick can lead to more serious issues down the road. Moisture can penetrate the gaps, freezing and expanding during winter, potentially causing the brick to crack or dislodge entirely. Moreover, a loose brick weakens the overall structure, increasing the risk of collapse.
TIGHTENING A LOOSE BRICK: A Step-by-Step Guide
Fixing a loose brick is a straightforward process that involves filling the gap between the brick and the wall with mortar, a mixture of cement, sand, and water. Follow these steps to effectively tighten a loose brick:
- Remove the Loose Mortar: Using a cold chisel and hammer, carefully chip away any loose or crumbled mortar around the brick. Ensure you remove all loose material to create a clean surface for the new mortar.
- Prepare the Mortar: Mix the mortar according to the manufacturer’s instructions. The consistency should be thick enough to hold its shape but pliable enough to spread easily.
- Apply the Mortar: Apply the mortar to the back of the loose brick, ensuring complete coverage. Then, place the brick back into its original position and press firmly. Use a rubber mallet or the handle of a hammer to gently tap the brick into place, ensuring it is level with the surrounding bricks.
- Smooth the Mortar: Using a pointing trowel or a small piece of wood, smooth the mortar around the edges of the brick, creating a neat and finished appearance.
- Allow to Cure: Allow the mortar to cure completely before disturbing the brick. Curing time varies depending on the type of mortar used; refer to the manufacturer’s instructions for specific guidelines.
CHOOSING THE RIGHT MORTAR: A Balancing Act
Selecting the appropriate mortar for your loose brick repair is crucial. The mortar should be compatible with the existing mortar in terms of strength and color. Here are some types of mortar to consider:
- Type N Mortar: A common choice for general-purpose repairs, Type N mortar is made from a blend of Portland cement, lime, and sand. It offers good strength and is suitable for most brick types.
- Type S Mortar: Specifically designed for stronger repairs, Type S mortar contains more Portland cement and less lime than Type N mortar. It provides exceptional strength but may not be as workable.
- Type M Mortar: A versatile mortar that combines the properties of Type N and Type S mortars, Type M mortar is suitable for a wide range of applications. It offers good strength and workability.

Image: www.villageinframe.com
PREVENTIVE MEASURES: Safeguarding Your Brick Structure
While loose bricks can occur for various reasons, certain preventive measures can help minimize the risk:
- Regular Inspections: Regularly inspect your brick structure, especially after storms or significant weather events, to identify any loose bricks and address them promptly.
- Proper Drainage: Ensure that water does not accumulate around the base of your brick structure. Install proper drainage systems, such as gutters and downspouts, to direct water away from the foundation.
- Quality Mortar: Use high-quality mortar when constructing or repairing your brick structure. Poor-quality mortar can weaken over time, leading to loose bricks.
How To Fix A Loose Brick
https://youtube.com/watch?v=wGJiVpqK8uE
FREQUENTLY ASKED QUESTIONS: Your Brickwork Concerns
- Can I use any type of mortar to fix a loose brick?
No, choosing the right mortar is important. Type N, Type S, and Type M mortars are commonly used for brick repairs, depending on the strength and workability required. - Is it necessary to remove all the old mortar before applying new mortar?
Yes, removing the loose and crumbled old mortar is crucial. This creates a clean surface for the new mortar to adhere to, ensuring a strong and durable bond. - How long does it take for the mortar to cure?
Curing time varies depending on the type of mortar used and the environmental conditions. Generally, allow at least 24 hours for the mortar to cure before disturbing the brick. - Can I paint over the repaired area?
Yes, you can paint over the repaired area once the mortar has fully cured. Use a high-quality masonry paint that is compatible with the type of brick and mortar used.
In conclusion, tackling loose brick repairs is a manageable endeavor that can enhance the stability and longevity of your brick structure. With the right knowledge, tools, and precautions, you can effectively address loose bricks and restore the integrity of your treasured brickwork. Remember to regularly inspect your brick structure and implement preventive measures to keep your bricks firmly in place. By empowering yourself with these brickwork fundamentals, you can confidently maintain the timeless beauty and structural integrity of your brick home for years to come.
Do you have any questions or comments about loose brick repair? Please share your thoughts and experiences. Your insights can help others who are facing similar brickwork challenges.