Explore the How To Put On Press On Nails With Stickers article containing information you might be looking for, hopefully beneficial for you.
A Beginner’s Guide to Stunning Nails with Press-On Stickers
As a nail enthusiast, I’ve tried countless techniques to achieve salon-worthy nails at home. Press-on nails with stickers have stolen my heart lately, offering an easy and affordable way to elevate my nail game. Join me as I guide you through the world of press-on nails with stickers, empowering you to create gorgeous nails that will turn heads.
The Allure of Press-On Nails
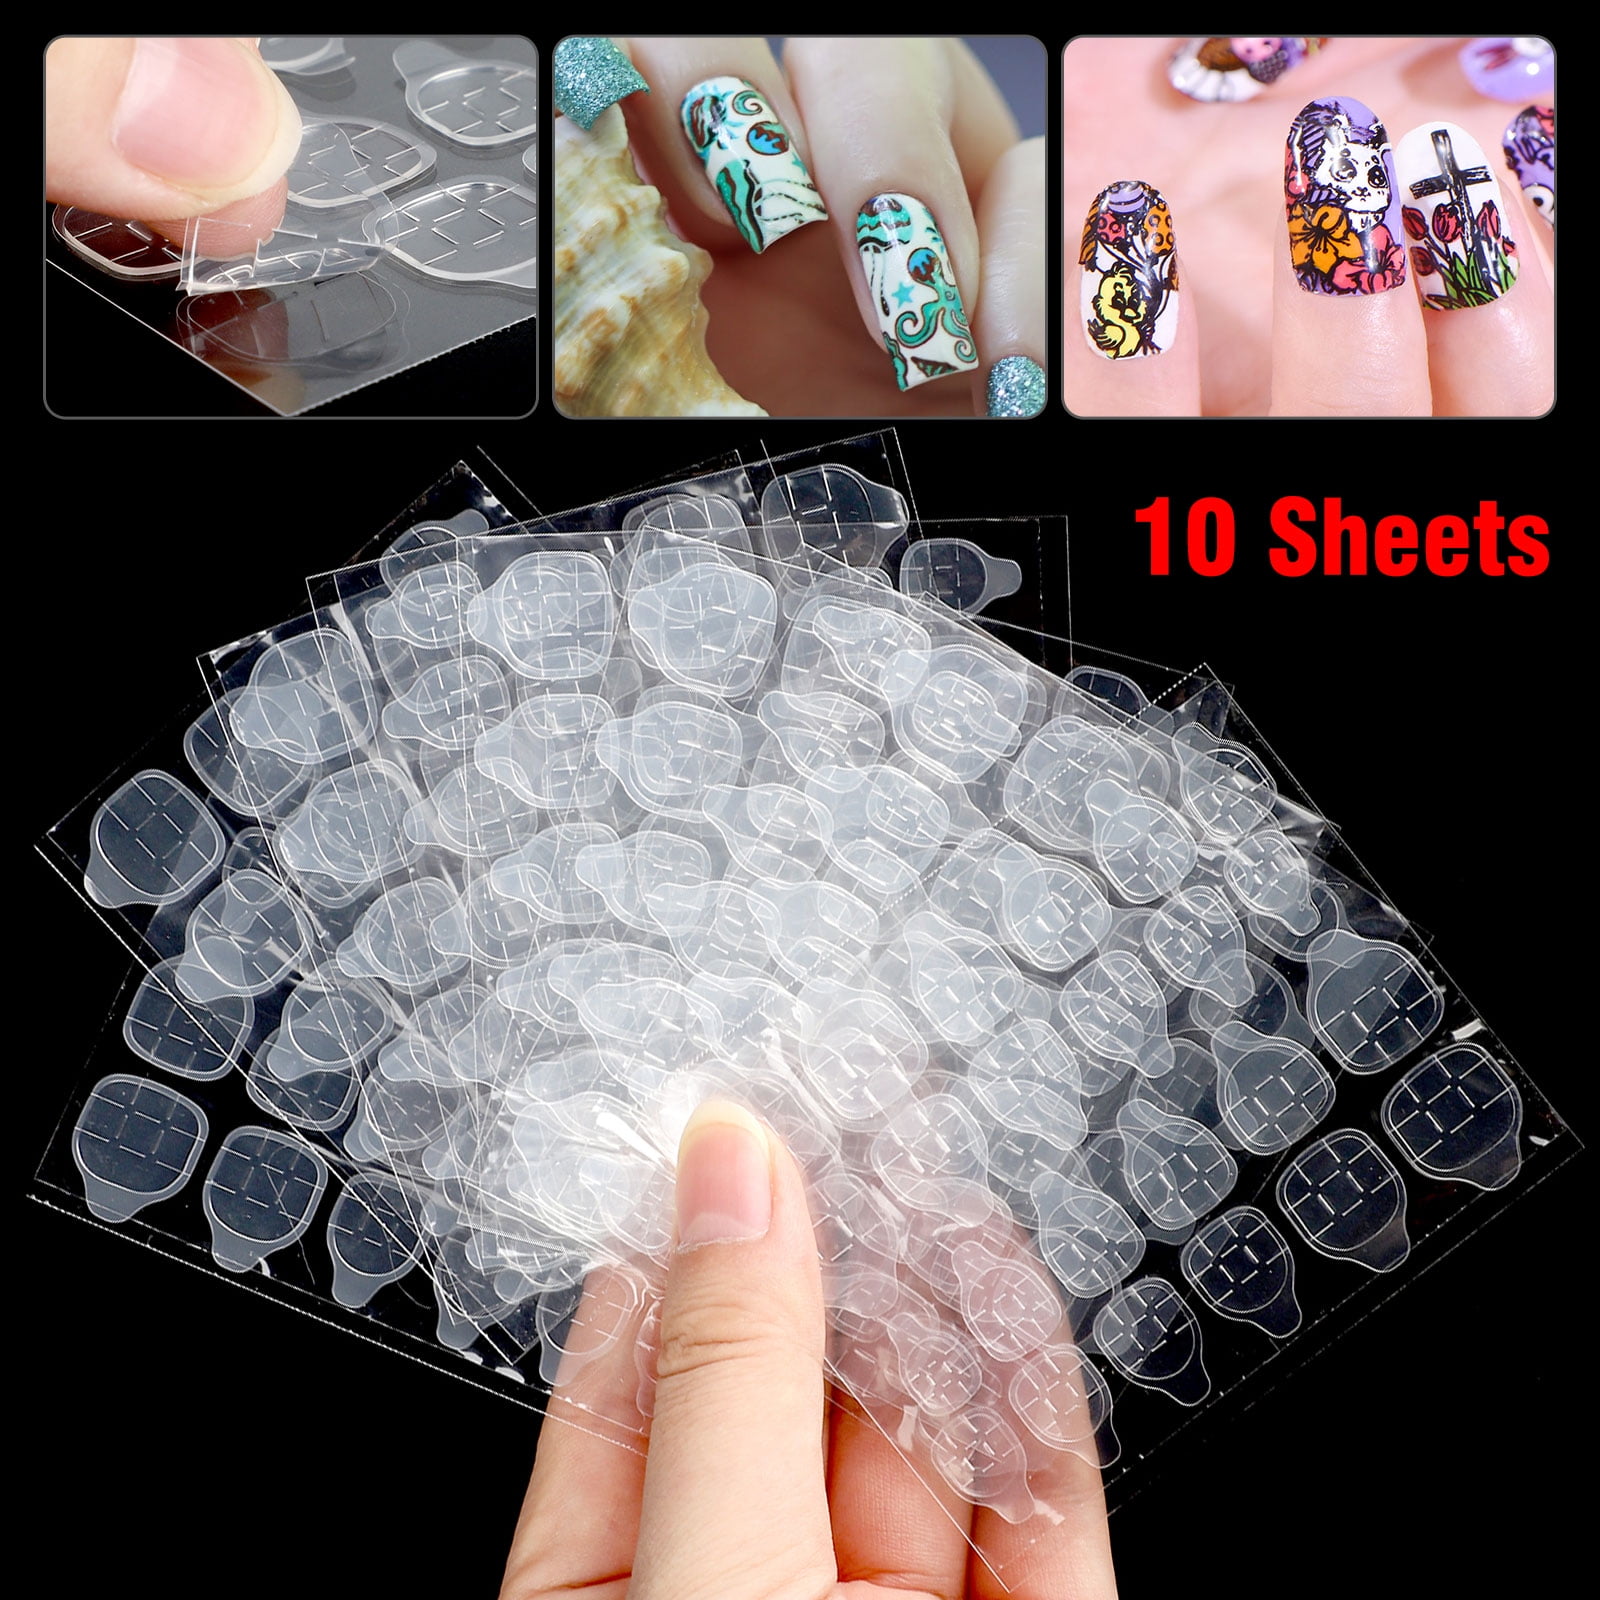
Traditionally, acrylics and gels dominated the nail enhancement scene. However, press-on nails with stickers have emerged as a game-changer, combining the convenience of DIY with professional-looking results. These pre-designed nails come with adhesive stickers, making application a breeze and eliminating the need for glue or damaging nail preparation.
In addition to their ease of use, press-on nails with stickers offer numerous benefits. They are non-damaging to natural nails, allowing you to take a break from harsh treatments while still enjoying stunning nails. Their versatility extends to various shapes, lengths, and designs, catering to diverse preferences and occasions.
Step-by-Step Guide to Applying Press-On Nails with Stickers
Materials You’ll Need:
- Press-on nails with adhesive stickers
- Nail file
- Buffer
- Orange stick or cuticle pusher
Instructions:
- Prep your natural nails: Gently push back cuticles using an orange stick or cuticle pusher. File nails to desired shape and length. Lightly buff the surface to create a smooth base.
- Choose your press-on nails: Select nails that fit your nail beds comfortably. If necessary, trim or file the sides for a perfect fit.
- Align and apply: Remove the adhesive sticker from the back of a press-on nail. Carefully align the nail with your natural nail, starting at the cuticle area. Press down firmly, ensuring a secure bond.
- File and shape: Once all nails are applied, file and shape them as desired. You can use a nail file to smooth the edges or create a custom shape.
- Secure them: Apply a top coat over the press-on nails to seal the adhesive and enhance their longevity. Allow it to dry completely.
Tips for Flawless Results
Nail preparation is key: Ensure your nails are clean, dry, and free of any oils or dirt. This will help the stickers adhere better, preventing premature lifting.
Apply pressure when pressing down: Use your fingers or a cuticle pusher to apply firm pressure while attaching the press-on nails. This will ensure a strong bond and minimize air bubbles.
Frequently Asked Questions
Q: How long do press-on nails with stickers last?
A: Longevity depends on proper application and care. With proper application and minimal exposure to water and chemicals, they can last up to 2 weeks.
Q: Can I reuse press-on nails?
A: While not recommended, press-on nails can be reused a few times with proper care. Remove them by soaking in warm water, then gently peeling them off. Replace the adhesive stickers before reapplying.
Conclusion: Embrace the Nail Art Revolution
Press-on nails with stickers are revolutionizing the nail art world with their ease of use, non-damaging properties, and stunning designs. Whether you’re a nail newbie or a seasoned pro, this guide will empower you to achieve salon-worthy nails at your fingertips. So, embrace the press-on nail trend and let your creativity shine with every application. Are you ready to elevate your nail game with this groundbreaking technique?

Image: stylecaster.com
Thank you for reading How To Put On Press On Nails With Stickers on our site. We hope you find this article beneficial.
