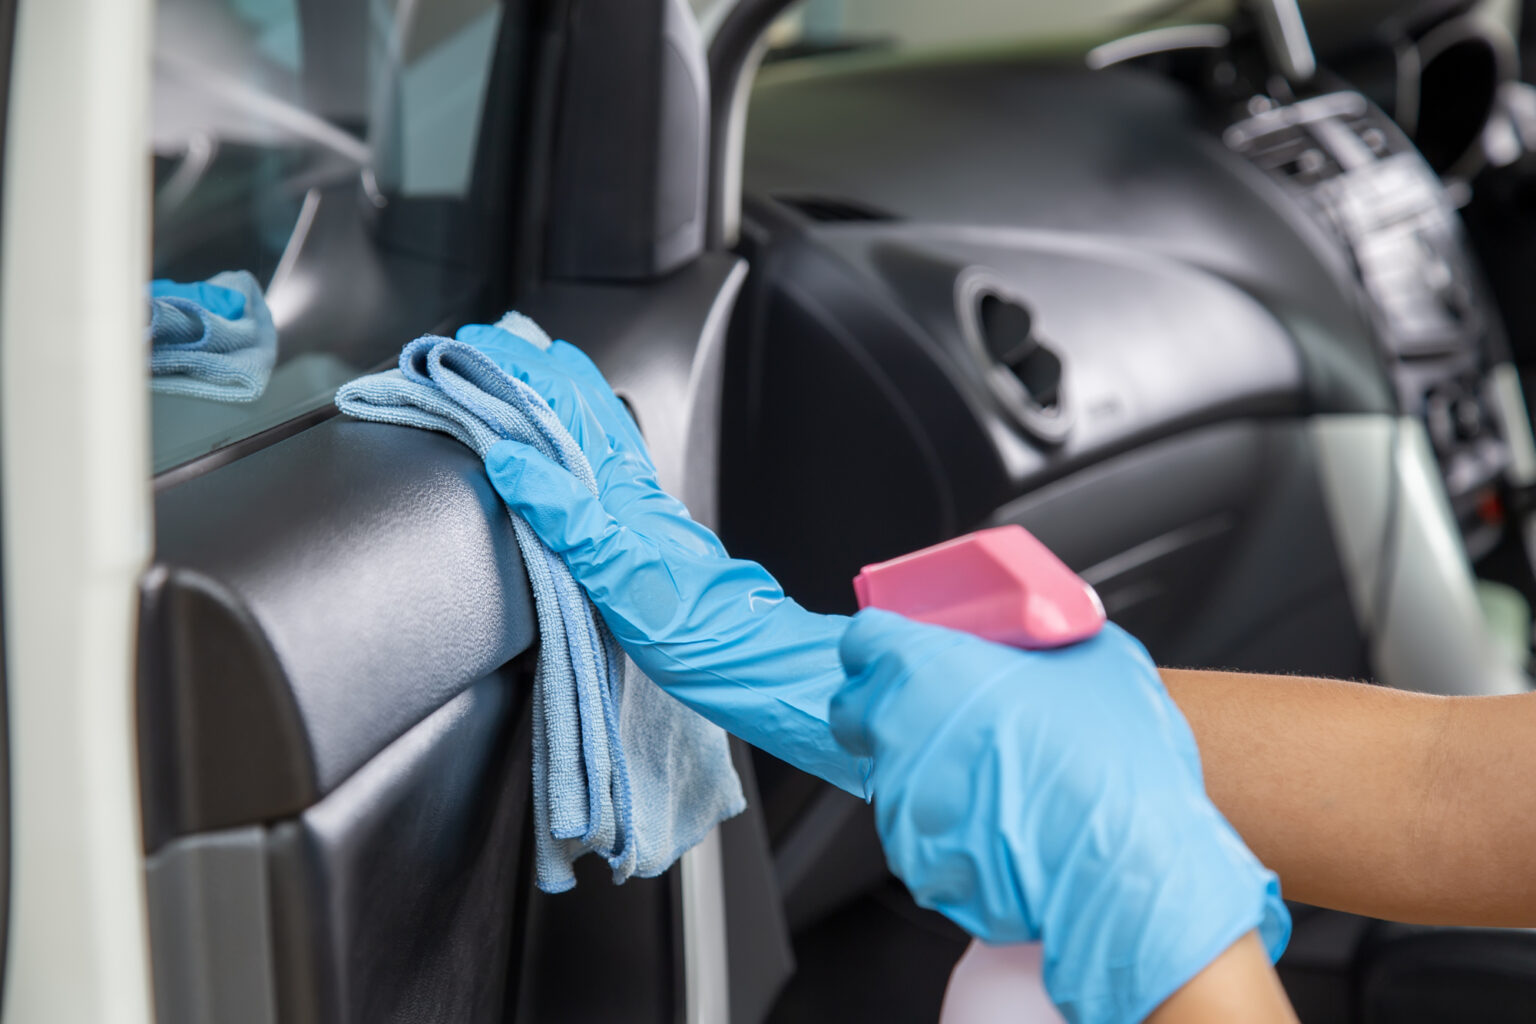
Imagine this: you slide into your beloved car, only to be greeted by an unsightly scratch on the glossy interior plastic. It’s a jarring blemish that detracts from the otherwise pristine cabin. Fret not, as this article will delve into the realm of scratch repair, empowering you with the knowledge and techniques to restore your car’s interior to its former glory.

Image: mycarmakesnoise.com
Decoding the Scratches: Types and Causes
Scratches on car interior plastics can vary in severity, from superficial surface marks to deep gouges. While some may arise from accidental contact with sharp objects, others result from prolonged exposure to sunlight or harsh cleaning agents. Understanding the type and cause of the scratch is crucial for selecting the appropriate repair method.
Tools of the Trade: Essential Equipment
Before embarking on the scratch repair journey, it’s essential to gather the necessary tools:
- Sandpaper (fine-grit and medium-grit)
- Scratch repair filler or putty
- Rubbing compound
- Polishing compound
- Soft cloths
- Microfiber towels
- Optional: heat gun or hair dryer
The Repair Process: A Step-by-Step Guide
Step 1: Assess the Damage and Gather Materials
Determine the severity of the scratches and gather the appropriate tools and materials.
Step 2: Sanding the Scratch
Gently sand the scratched area with fine-grit sandpaper to remove any loose plastic or sharp edges. Use medium-grit sandpaper for deeper scratches. Always sand in the direction of the scratch to avoid further damage.
Step 3: Filling the Scratch
Apply a small amount of scratch repair filler or putty to the sanded area. Use a spatula or putty knife to spread the filler evenly, filling the scratch completely. Allow the filler to cure according to the manufacturer’s instructions.
Step 4: Sanding the Filled Area
Once the filler is dry, sand the filled area smooth with fine-grit sandpaper. Start with light strokes and gradually increase the pressure as necessary.
Step 5: Rubbing Compound
Apply a small amount of rubbing compound to a soft cloth and rub it onto the repaired area in a circular motion. Rubbing compound helps remove any remaining scratches and smooths the surface.
Step 6: Polishing Compound
Apply a small amount of polishing compound to a clean microfiber towel and polish the repaired area to a high shine. Polishing compound restores the plastic’s original luster and creates a protective coating.
Optional Step: Heat Treatment
For deeper scratches, a heat gun or hair dryer can be used to soften the filler and ensure a smooth finish. Heat the repaired area gently while pressing down with a soft cloth to mold the filler.
Image: www.decoratingspecial.com
Expert Insights: Tips from the Pros
- Use fine-grit sandpaper to avoid creating new scratches.
- Apply filler sparingly and spread it evenly.
- Allow the filler to cure completely before sanding to prevent shrinkage.
- Use a microfiber towel to prevent scratching the surface.
- Test the rubbing compound and polishing compound on an inconspicuous area first to ensure compatibility.
How To Fix Scratches In Car Interior Plastic
Reconsidering the Repair: When to Seek Professional Help
While most scratches can be repaired using the methods described, some may require professional attention. If the scratches are particularly deep or extensive, it’s advisable to seek the assistance of an auto body shop to ensure the best possible results and avoid further damage.