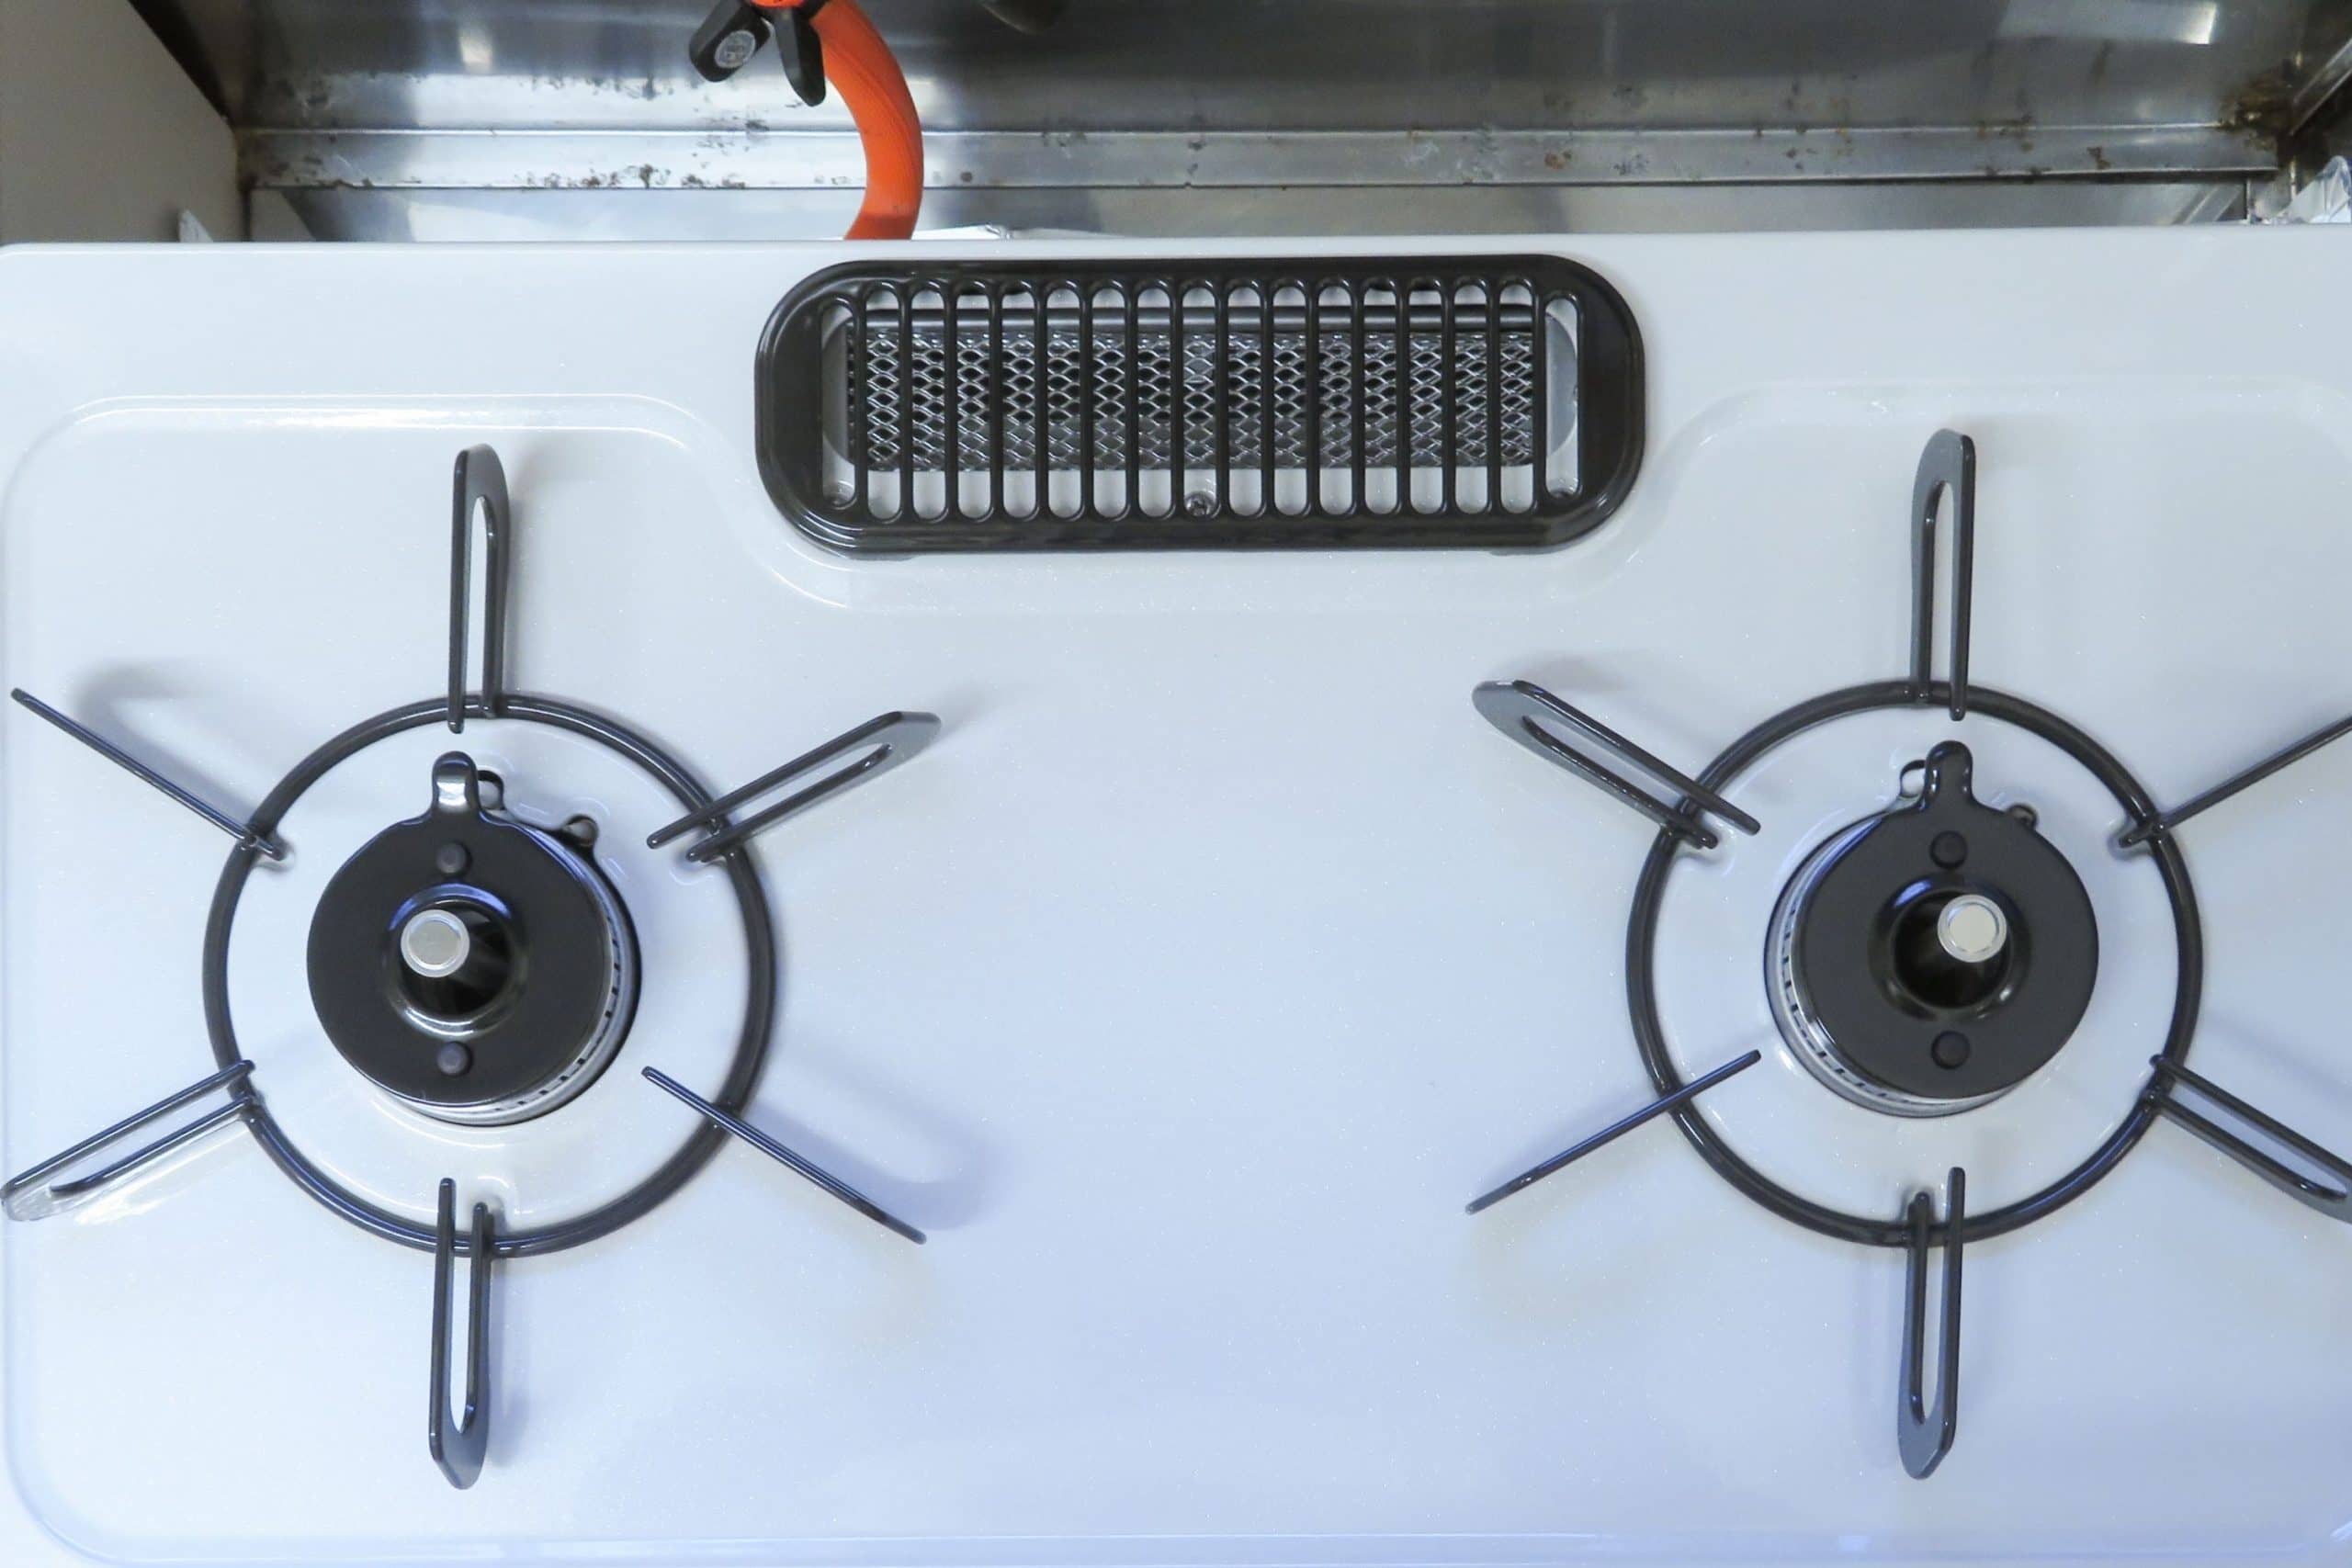
For those who rely on gas appliances in their homes, encountering a malfunctioning pilot light can be a frustrating experience. However, it is a problem that can be easily resolved with the right knowledge and a few simple steps. This comprehensive guide will provide you with a step-by-step process to effectively fix a pilot light, whether it’s for a water heater, furnace, or stove.

Image: welovefire.com
Before embarking on the repair process, it is crucial to ensure your safety. Turn off the gas supply to the appliance by locating the gas valve and turning it to the “off” position. Allow ample time for any remaining gas to dissipate by waiting several minutes before you begin working on the appliance. Additionally, ensure the area is well-ventilated to prevent gas accumulation. With these safety measures in place, you can proceed to the following steps.
Troubleshooting Common Pilot Light Issues
1. Identifying the Malfunction: Begin by examining the pilot light. A lit pilot light should appear as a small blue or yellow flame. If it is not lit or appears unstable, there may be an issue with the gas supply, thermocouple, or ignition system.
2. Checking the Gas Supply: Ensure that the gas valve is completely open. If it is and the pilot light still does not ignite, there may be a problem with the gas supply itself. Contact your gas provider or a qualified technician to address this issue.
3. Inspecting the Thermocouple: The thermocouple generates a small electrical current when heated by the pilot light’s flame. This current keeps the gas valve open, allowing gas to flow to the pilot light. If the thermocouple is not generating enough current, the gas valve will close and the pilot light will go out. To inspect the thermocouple, clean it with a soft cloth or fine-grit sandpaper. If it is still faulty, it will need to be replaced.
4. Checking the Ignition System: The ignition system, usually a spark igniter or a standing pilot, generates the spark or flame needed to ignite the pilot light. A faulty ignition system can prevent the pilot light from lighting. If you suspect an issue with the ignition system, ensure the spark igniter is clean and produces a spark. If it does not, it may need to be replaced. For a standing pilot, check if it is lit and make sure that the flame sensor is clean.
Step-by-Step Guide to Relighting the Pilot Light
1. Locate the Pilot Assembly: Once you have determined the cause of the issue, locate the pilot assembly on your appliance. This is typically a small metal tube with a knob or button at its end.
2. Push the Reset Button: On most appliances, there will be a reset button near the pilot assembly. Press and hold this button down for 30 seconds. This will allow any remaining gas in the system to escape and reset the safety features.
3. Light the Pilot Light: Using a long-neck lighter or a match, carefully light the pilot light by applying the flame to the pilot light opening. Hold the flame for several seconds until the pilot light ignites. Keep the reset button pressed for an additional 30 seconds after the pilot light lights.
4. Ensure Stability: If the pilot light stays lit after releasing the reset button, your appliance is ready to use. However, if the pilot light goes out after you release the reset button, repeat steps 2 and 3 until the pilot light remains lit.
FAQ on Pilot Light Troubleshooting
Q: Why does my pilot light keep going out?
A: There could be several reasons, including a faulty thermocouple, a blocked gas line, or a damaged ignition system.
Q: Can I use a match to light my pilot light?
A: Yes, you can use a match to light your pilot light, but be sure to use caution and follow the steps outlined in this guide.
Q: What should I do if I smell gas after lighting the pilot light?
A: Turn off the gas supply immediately and contact your gas provider or a qualified technician. Gas leaks can be dangerous and should be addressed promptly.

Image: beezzly.com
How To Fix A Pilot Light
Conclusion
By following the steps outlined in this guide, you can effectively diagnose and fix a malfunctioning pilot light. Remember to prioritize safety throughout the process and consider seeking professional assistance if the issue persists or if you are uncomfortable performing the repairs yourself. If you are interested in learning more about home appliance maintenance or DIY repairs, explore our blog for additional helpful articles and resources.