When you spot unsightly cracks marring the corners of your drywall, it’s understandable to feel a wave of frustration. These imperfections not only compromise your home’s aesthetics but also hint at potential structural issues. However, don’t let despair consume you; drywall cracks are often repairable with a little patience and the right approach.
:max_bytes(150000):strip_icc()/repair-cracks-in-plaster-walls-1822837-Final2-eb4576701da34987874f54b3275cdd5d-1af22f4dabf04373ae7742ccc6ffb37c.jpg)
Image: www.thespruce.com
Understanding Drywall Cracks: The Whys and Wherefores
Drywall cracks in corners can arise from various causes, including:
-
Building Settlement: As a house ages, it naturally settles, which can put stress on corners, leading to cracks.
-
Moisture Changes: Fluctuating humidity levels can cause drywall to expand and contract, resulting in cracks at weak points like corners.
-
Improper Installation: Insufficient support or improper joint taping during drywall installation can create areas prone to cracking.
Tackling Drywall Cracks Head-On: A Comprehensive Guide
Step 1: Prepare the Area
Don gloves and safety glasses. Remove any furniture or obstacles from the affected area. Use a putty knife to gently scrape away any loose pieces of drywall or paint.
Step 2: Clean the Surface
Wipe down the cracked area with a damp cloth to remove dust and debris. Allow it to dry completely.
Step 3: Apply Joint Compound
Using a taping knife, spread a thin layer of joint compound over the crack. Extend it slightly beyond the edges to reinforce the repair. Allow it to dry according to the manufacturer’s instructions.
Step 4: Tape the Crack
Cut a piece of fiberglass mesh tape slightly wider than the crack. Center the tape over the joint compound and press it in firmly. Smooth over any bubbles or wrinkles using a taping knife.
Step 5: Apply a Second Coat of Joint Compound
Spread a second, slightly thicker layer of joint compound over the tape. Use a slightly wider taping knife to ensure the tape is completely covered. Allow it to dry thoroughly.
Step 6: Sand and Feather
Once the joint compound is fully dry, use sandpaper or a sanding sponge to smooth the surface. Start with coarse sandpaper and gradually switch to finer grits until the repair blends seamlessly with the surrounding drywall.
Step 7: Prime and Paint
Apply a coat of primer to the repaired area and surrounding drywall to seal it and improve paint adhesion. Allow the primer to dry completely before painting the entire wall or ceiling to match.
Expert Insights: Transforming Home Repairs into Masterpieces
-
Don’t Overfill: Avoid applying excessive joint compound, as it can crack or bubble later on.
-
Let it Dry Thoroughly: Patience is key. Allow each layer of joint compound to dry completely before moving on to the next step.
-
Practice Makes Perfect: If you’re new to drywall repairs, practice on a scrap piece of drywall before attempting the actual repair.
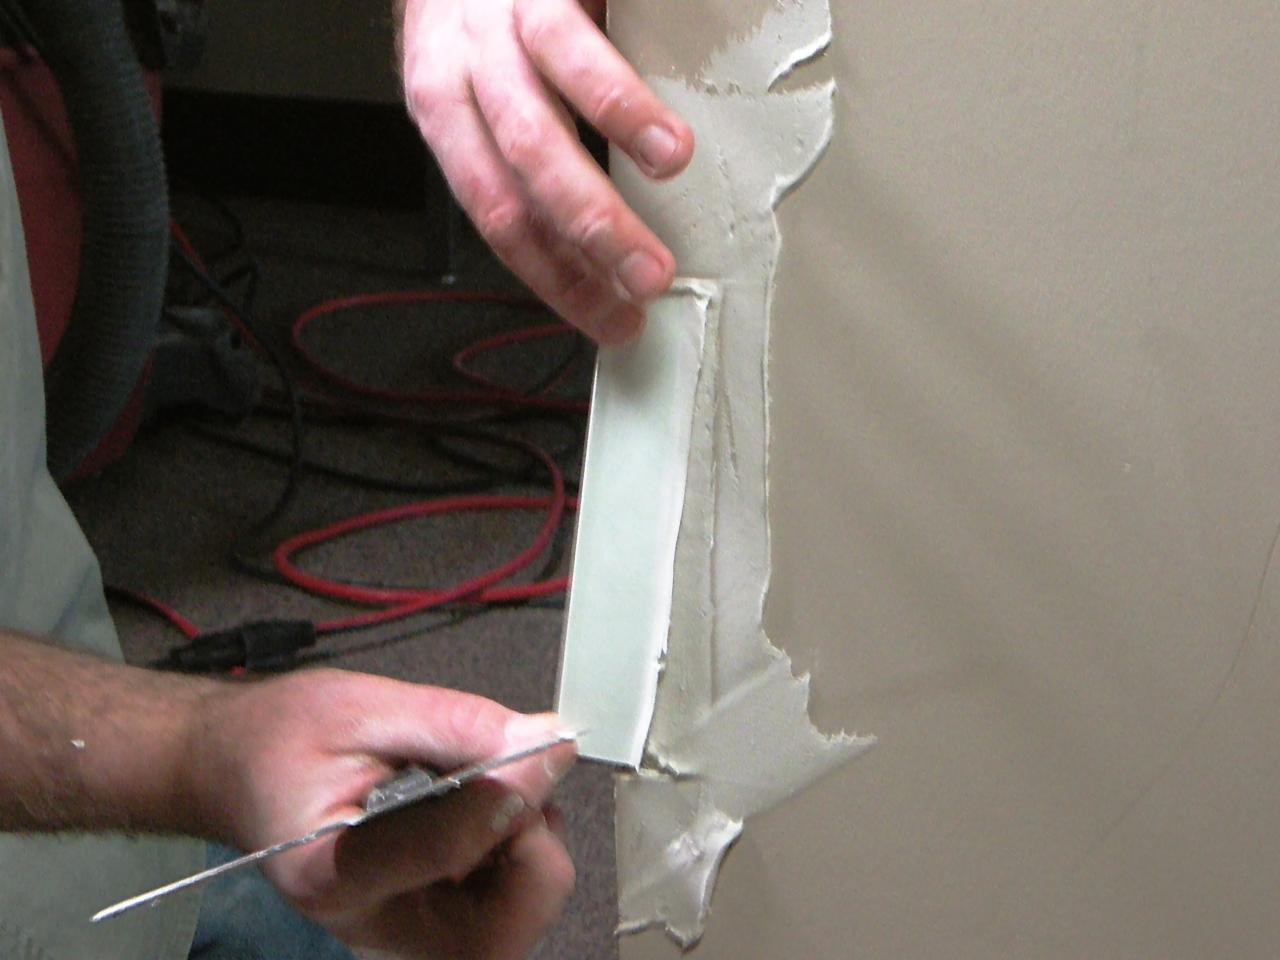
Image: www.hgtv.com
How To Fix Drywall Cracks In Corners
Conclusion: Regaining Pristine Walls with Confidence
Fixing drywall cracks in corners can be a daunting task at first, but by following these steps diligently, you can restore your walls to their former glory. Remember, tackling home repairs with patience and precision will not only improve your living space but also boost your sense of accomplishment. And if the damage is extensive or beyond your comfort level, don’t hesitate to consult a professional to ensure a safe and satisfactory repair.
