Introduction

Image: diy-auto-repair.wonderhowto.com
Driving on the road presents various challenges, with one common issue being broken bumper tabs. These tabs are essential for securing the bumper to the vehicle’s body and can become damaged due to impacts like minor collisions or curbs. Broken tabs not only lead to an unsightly appearance but also compromise the bumper’s stability and safety features. If you encounter this problem, don’t worry; it’s often possible to repair broken tabs relatively easily and affordably. This guide will provide you with a comprehensive understanding of how to fix broken tabs on bumpers, ensuring your vehicle’s aesthetics and safety.
Understanding Bumper Tabs
Bumper tabs are small plastic or metal protrusions located on the inner side of the bumper. They insert into corresponding slots or holes on the vehicle’s frame or body to secure the bumper in place. Tabs vary in design and size depending on the vehicle model. Some tabs may consist of a single piece, while others comprise interlocking components that provide extra strength and flexibility.
Damage Causes and Consequences
Broken bumper tabs can occur for several reasons. Minor collisions, parking mishaps, or driving over uneven surfaces are common culprits. Occasionally, the tabs can become brittle with age and deteriorate. Broken tabs result in a loose bumper, potentially leading to additional damage. A detached bumper can impede the vehicle’s aerodynamic performance, increase air resistance, and adversely affect fuel consumption. Moreover, loose bumpers can pose safety concerns, insbesondere during sudden maneuvers or impacts, as they may fail to provide adequate protection.
Step-by-Step Repair Guide
Materials Required
Before delving into the repair process, gather the necessary materials:
- Compatible replacement tabs (check your vehicle’s make, model, and year to determine the correct size and type)
- Phillips head screwdriver or cordless drill
- Flexible putty knife or plastic trim removal tool
- Zip ties or bungee cords (optional)
- Sandpaper or rubbing alcohol
Safety Precaution
Always ensure your vehicle is parked on a level surface and in park mode before commencing repairs.
Step 1: Locate the Broken Tabs
Identify the broken or damaged tabs on the bumper. Check both sides of the bumper, as there are usually multiple tabs distributed along their length. If the tabs are not visibly broken, gently try to move the bumper up and down or side-to-side to determine if any are loose or detached.
Step 2: Remove the Bumper (Optional)
For some vehicles, it might be necessary to remove the bumper to access the broken tab; while for others, it can be repaired while still attached. To detach the bumper, follow these steps:
- Remove any visible bolts or screws along the bumper’s edges, wheel wells, or underneath.
- Carefully pry around the edges of the bumper using a flexible putty knife or plastic trim removal tool to release any clips or tabs holding it in place.
- With the help of an assistant, gradually pull the bumper away from the vehicle’s body. Be cautious not to damage any sensors, wires, or other components attached to the bumper.
Step 3: Extract Broken Tabs
Use a Phillips head screwdriver or cordless drill to remove the broken tabs from their mounting points. Rotate the screw counterclockwise to loosen and extract it. If the screw is rusted or stubborn, apply some penetrating oil and allow it to sit for a few minutes before attempting to remove it.
Step 4: Replace Tabs
Take the compatible replacement tabs and align them with the corresponding slots or holes on the bumper. Firmly insert the replacement tabs by pressing them into place. If the tabs are a snug fit, use a rubber mallet or hammer with a soft, cushioned head to gently tap them into position. Avoid excessive force, as it could damage the replacement tabs.
Step 5: Reattach Bumper (Optional)
If you removed the bumper for repair, follow these steps to reinstall it:
- Guide the bumper carefully back into its original position, ensuring the replacement tabs fit into the designated slots or holes on the vehicle’s body.
- Tighten the screws or bolts removed earlier to secure the bumper in place.
- Snug up the bolts or screws securely but avoid overtightening, which could strip the threads or damage the tabs.
Step 6: Clean and Finish
Wipe away any debris or dirt from the repaired area using a damp cloth. You may also use sandpaper or rubbing alcohol to smooth out any rough edges or remove any excess material around the replacement tabs.
Expert Insights and Actionable Tips
- If you encounter difficulty inserting replacement tabs, apply a small amount of silicone lubricant or petroleum jelly to the tab’s surface to ease the process.
- When replacing multiple broken tabs, consider using zip ties or bungee cords to temporarily secure the bumper until all replacement tabs are in place.
- Ensure the replacement tabs are correctly aligned before attempting to tighten the screws or bolts. Misaligned tabs can compromise the bumper’s stability and appearance.
- If you feel overwhelmed or the damage is extensive, don’t hesitate to seek assistance from a qualified mechanic. They possess the expertise and tools to handle more complex repairs efficiently.
Conclusion
A broken bumper tab may seem like a minor inconvenience, but its repair is crucial for maintaining the vehicle’s aesthetics and safety. By following the steps outlined in this comprehensive guide, you can tackle this common issue effectively. Remember, patience and precision are key to achieving a successful repair. If you encounter any complications, do not hesitate to consult with a professional. By promptly addressing broken bumper tabs, you ensure your vehicle’s optimal performance and your own peace of mind on the road.

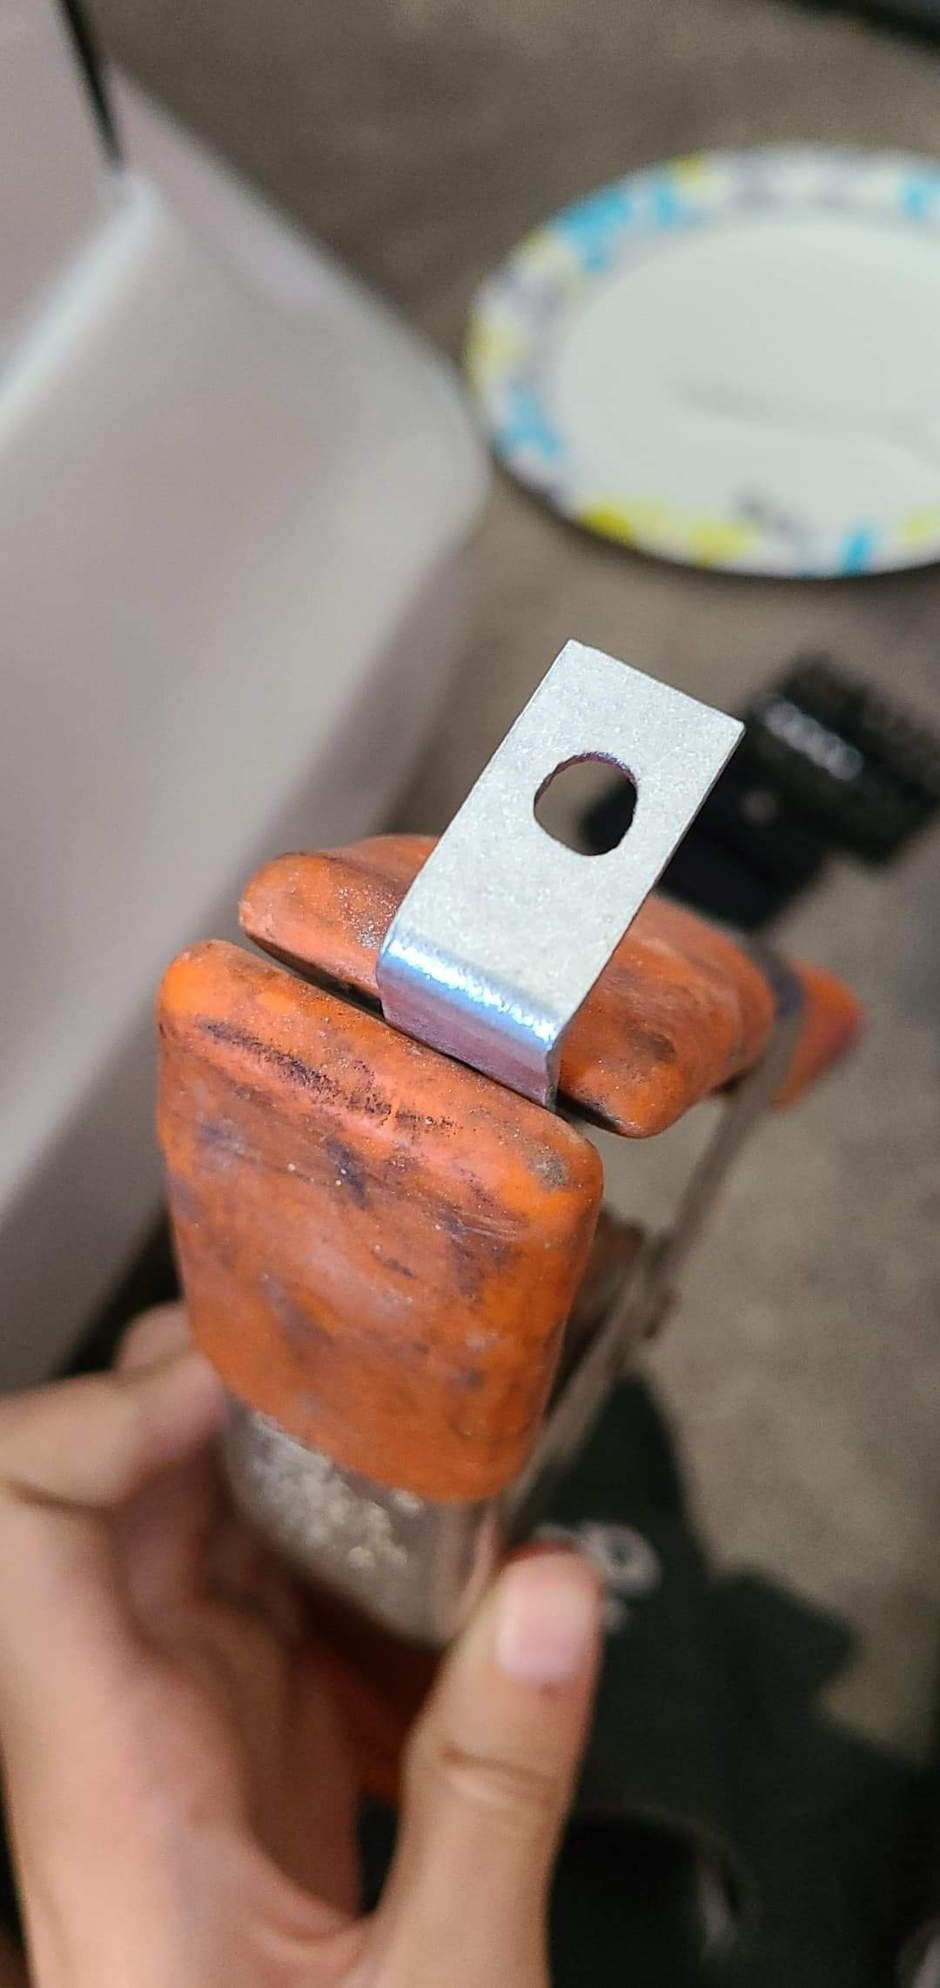
Image: www.clublexus.com
How To Fix Broken Tabs On Bumper