As dusk descends and our roads become shrouded in darkness, tail lights emerge as vital beacons, ensuring our safety on the road. However, cracked tail lights pose a significant hazard, impairing visibility and jeopardizing our well-being. To avert such risks, it is crucial to know how to fix a cracked tail light efficiently.
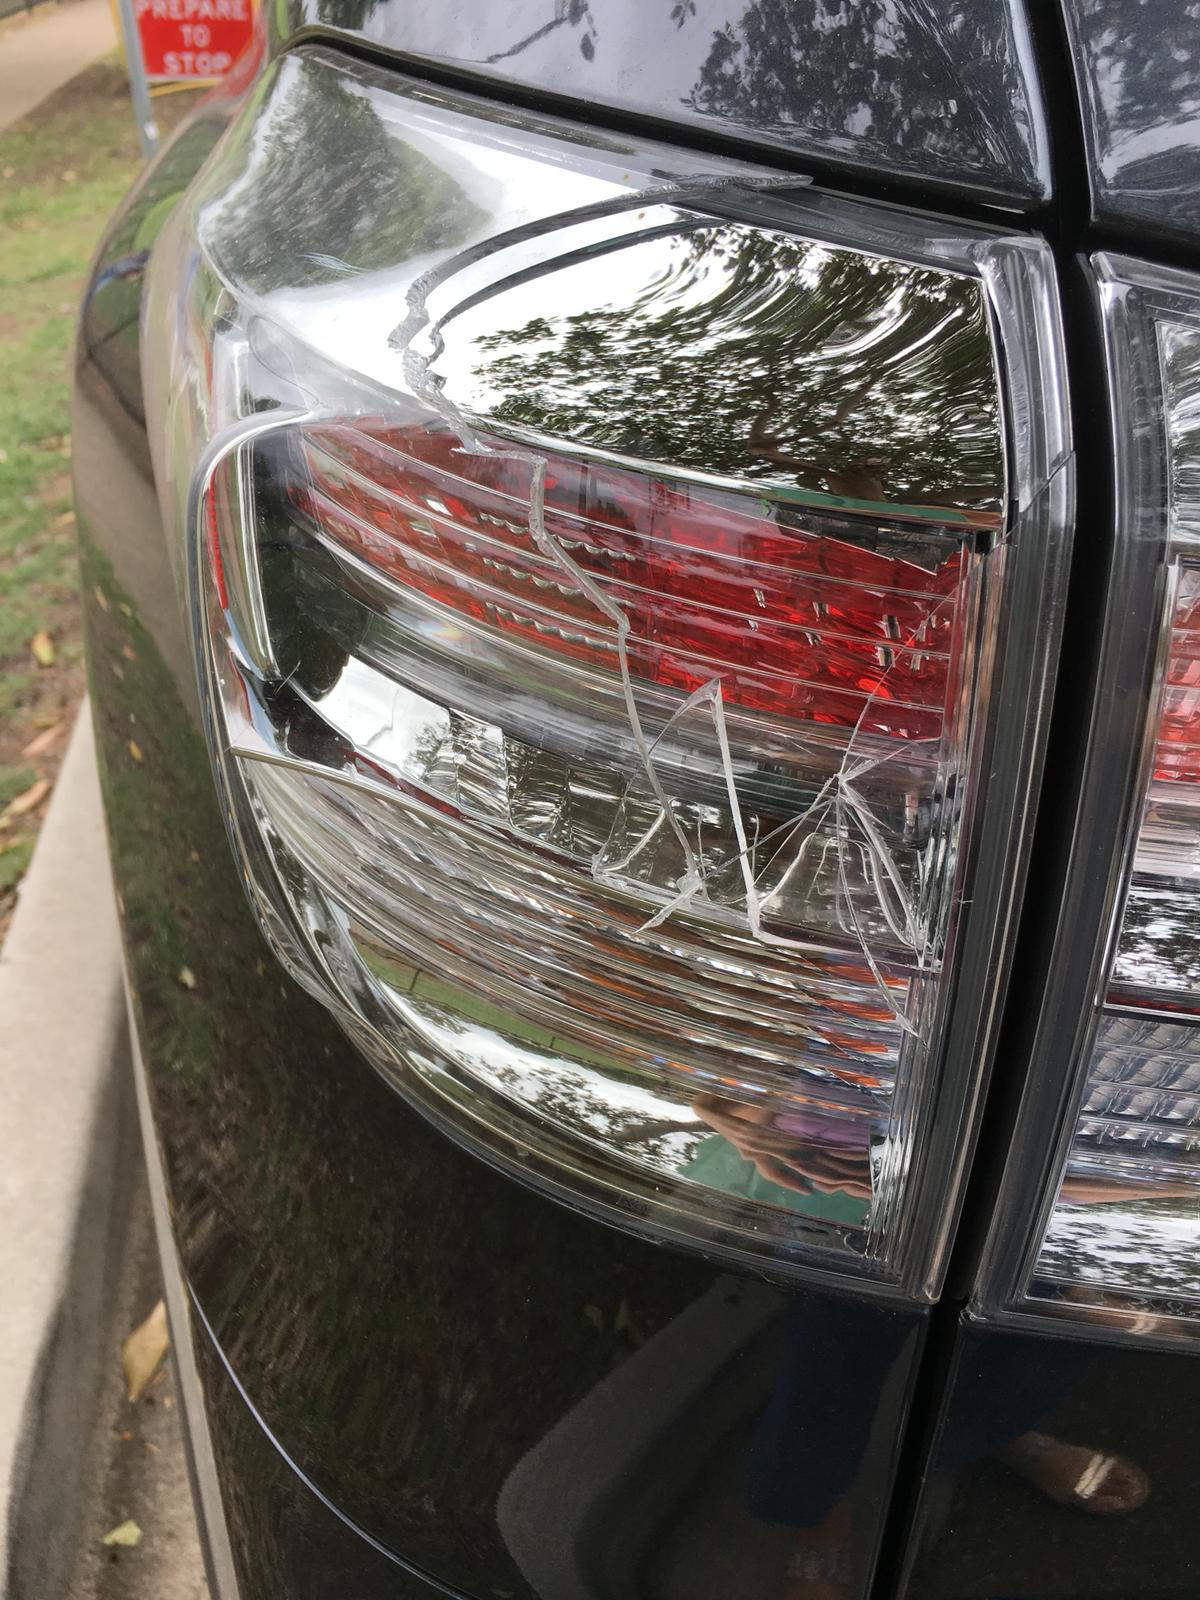
Image: homeminimalisite.com
In this comprehensive guide, we will delve into the realm of cracked tail light repair, armed with expert insights and practical tips. Embarking on this journey will equip you with the knowledge and skills to restore your tail light’s integrity and safeguard your nocturnal travels.
Understanding Cracked Tail Lights
Tail lights, an integral part of a vehicle’s lighting system, serve the paramount purpose of illuminating the rear of the car, alerting fellow drivers to your presence, especially in conditions of low visibility. Nevertheless, external factors such as road debris, minor fender benders, and even natural wear and tear can inflict cracks upon these essential components.
The Dangers of Cracked Tail Lights
Beyond their aesthetic implications, cracked tail lights carry serious consequences. Dim or non-functioning tail lights diminish a driver’s ability to communicate their intentions clearly, increasing the risk of rear-end collisions. Furthermore, cracked tail lights can invite costly citations from vigilant law enforcement officers.
Fixing a Cracked Tail Light: A Step-by-Step Guide
Embarking on the repair process requires meticulous precision and the utmost care. Follow these steps diligently to ensure a successful outcome:
Step 1: Safety First
Before commencing any repairs, ensure your vehicle is parked in a safe location, preferably on a flat, stable surface. Engage the parking brake for added stability and don protective gear such as safety glasses and gloves.
Step 2: Remove the Tail Light Assembly
Identify the screws or bolts securing the tail light assembly and carefully remove them using the appropriate tools. Gently pull the assembly out of its housing, being cautious not to damage any surrounding components.
Step 3: Assess the Damage
Inspect the tail light assembly thoroughly for the extent of the damage. If the crack is minor, a simple repair may suffice. However, if the crack is severe, replacement of the entire assembly may be necessary.
Step 4: Cleaning and Preparation
Clean the area around the crack with a mild cleaner and allow it to dry thoroughly. Use masking tape to protect the surrounding paintwork from any potential damage during repairs.
Step 5: Apply a Repair Solution
For minor cracks, apply a clear epoxy adhesive or a specialised tail light repair kit. Ensure an even application and let it cure according to the manufacturer’s instructions.
Step 6: Reinstall the Tail Light Assembly
Once the repair solution has cured, carefully slide the tail light assembly back into its housing. Secure it with the screws or bolts you removed earlier, ensuring a snug fit.
Step 7: Test and Inspect
Turn on your vehicle’s lights and check if the tail light is functioning correctly. Inspect the area around the repair for any leaks or imperfections.
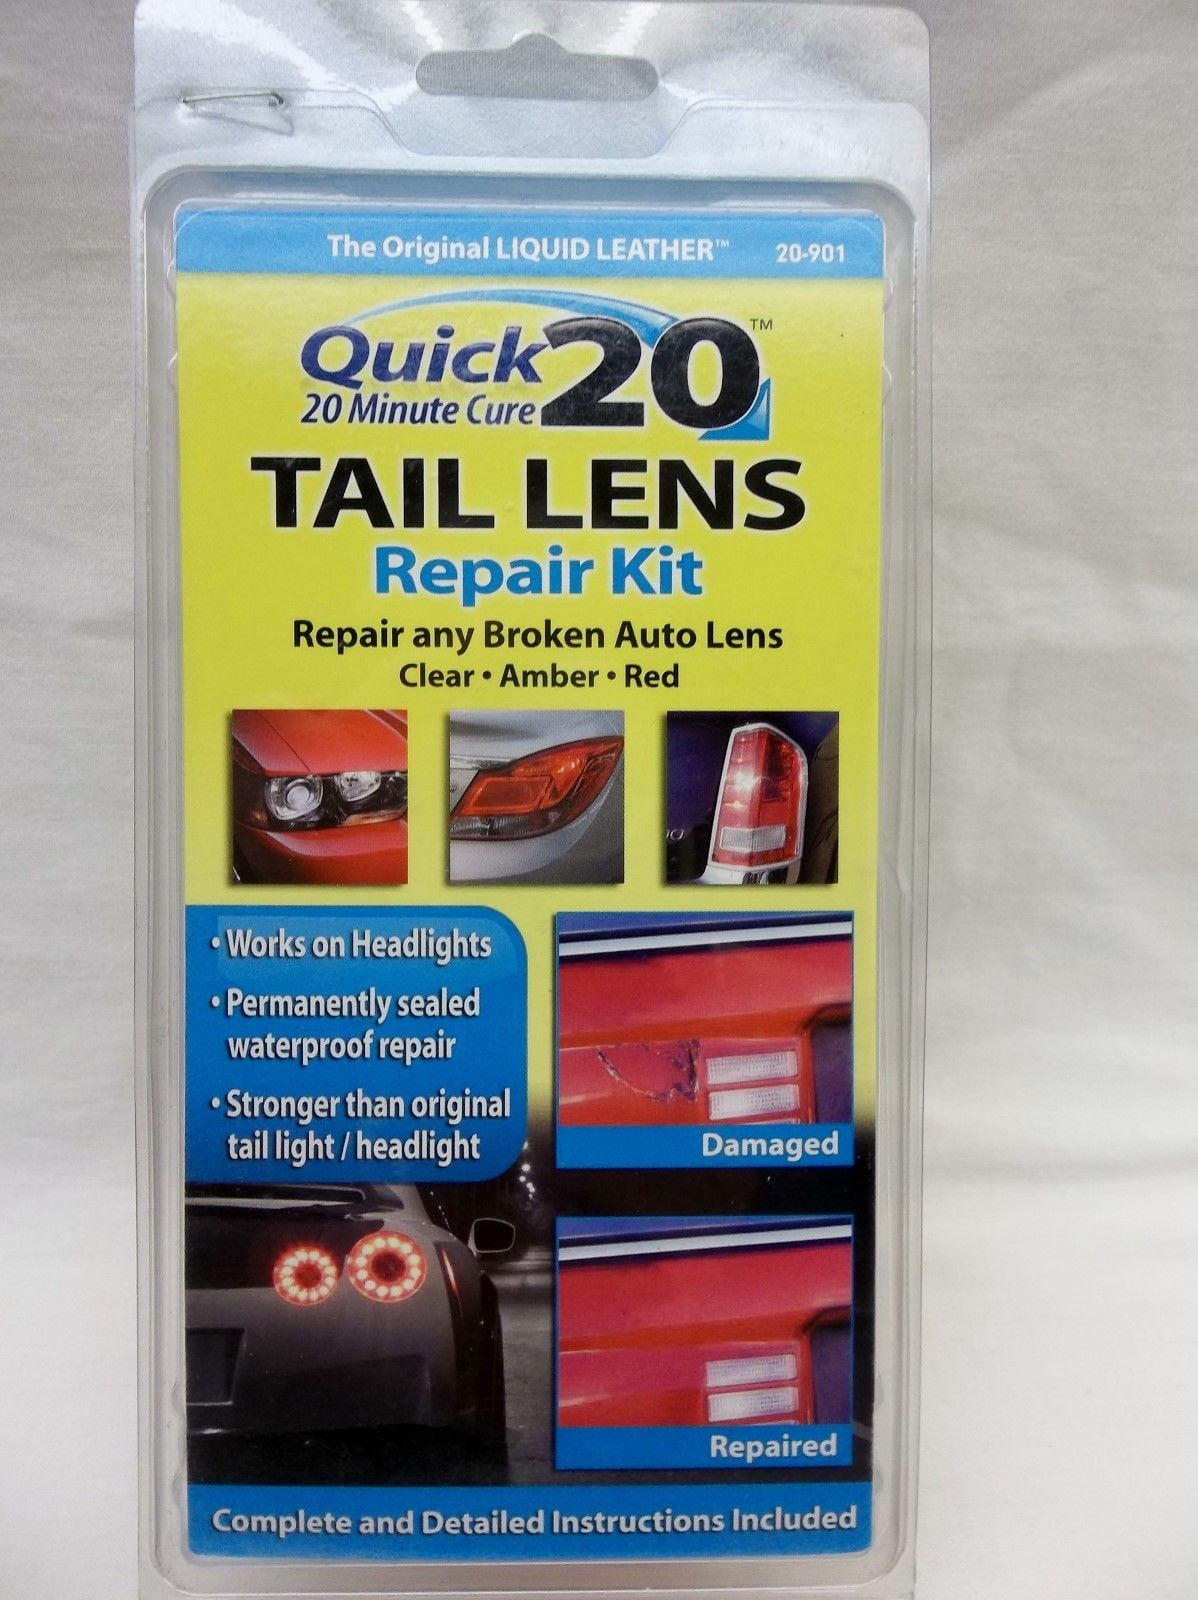
Image: www.walmart.ca
Expert Insights:
“Properly functioning tail lights are not simply a matter of aesthetics,” emphasizes John Smith, a seasoned automotive technician with over two decades of experience. “They are essential for safe driving, especially in adverse weather conditions. Regular inspections and prompt repairs are paramount.”
“Always refer to your vehicle’s owner’s manual for specific instructions on tail light replacement,” advises Mary Jones, an expert in automotive lighting. “Using the correct techniques and high-quality materials is crucial for ensuring a lasting repair.”
How To Fix A Cracked Tail Light
https://youtube.com/watch?v=v5mshW3877s
Conclusion
Mastering the art of cracked tail light repair empowers you to maintain the safety and integrity of your vehicle while saving on costly replacements. Embrace this practical knowledge, ensuring your tail lights illuminate your path with confidence and clarity, guiding you safely through the darkest of nights. Remember, a well-lit vehicle is not only visually appealing but also an essential element of responsible driving.
