Introduction

Image: thetoptutors.blogspot.com
Jewelry holds sentimental value, connecting us to precious memories and cherished loved ones. A necklace, in particular, adorns our necks with elegance and grace, symbolizing special moments and milestones. However, accidents happen, and a broken necklace can shatter our hearts. Don’t despair! With the right tools and guidance, you can skillfully repair your beloved necklace, restoring its beauty and emotional significance.
Understanding Necklace Construction
Necklaces typically consist of three main components: the chain, the clasp, and the pendant (if any). The chain is typically made of metal links, such as curb, box, or cable chains, connected together to provide length and flexibility. The clasp is the mechanism that secures the necklace around the neck, while the pendant is an optional decorative element that adds a personal touch. Understanding these components will help you diagnose and fix the most common necklace problems.
Tools and Materials
To repair a necklace effectively, you’ll need a few basic tools and materials:
- Jewelry pliers: Needle-nose pliers for precision handling of small components and flat pliers for larger links and clasps.
- Magnifying glass: To inspect the damage closely and ensure accurate repairs.
- Superglue or clear epoxy: For gluing broken chain links or clasp components.
- Wire or thread: For reattaching pendants or replacing damaged chain links.
- Small hammer: For adjusting clasps and flattening chain links.
- Safety glasses: To protect your eyes from flying debris or sharp edges.
Repairing Common Necklace Issues
Broken Chain Link:
- Locate the broken link and gently open the ends using needle-nose pliers.
- Align the open ends and apply a small amount of superglue or epoxy to the inside of both ends.
- Press the ends together firmly and hold for several minutes, or follow the instructions provided with your chosen adhesive.
- Once dried, flatten the repaired link using a small hammer and anvil or another flat surface.
Loose Clasp:
- Inspect the clasp for damaged or loose components.
- Tighten any loose screws or pins using a small screwdriver or hex key.
- If the clasp’s spring is too weak, replace it with a stronger one of similar size and shape.
- If the clasp is damaged beyond repair, replace it with a new clasp of the same type and finish.
Reattaching a Pendant:
- If the pendant is attached using a jump ring, simply open the ring using needle-nose pliers and slide it onto the chain.
- If the pendant is attached with a wire or thread, carefully cut the old material and thread a new piece through the pendant’s loop.
- Secure the wire or thread by knotting it tightly and trimming any excess.
Final Touches
- Once the necklace is repaired, clean it gently with a soft cloth to remove any adhesive residue or fingerprints.
- Inspect the entire piece for any sharp edges or imperfections, and smooth them out using a fine-grit sandpaper or file.
- Polish the necklace using a soft jewelry cloth or a polishing solution specifically designed for jewelry.
Conclusion
Repairing a necklace can be a rewarding experience that allows you to prolong the life of your cherished jewelry. By understanding the construction of necklaces, having the right tools, and following the steps outlined above, you can confidently fix common necklace issues and restore your precious piece to its former glory. Whether it’s a sentimental heirloom or a fashionable accessory, a repaired necklace will continue to adorn you with grace and remind you of its enduring value.
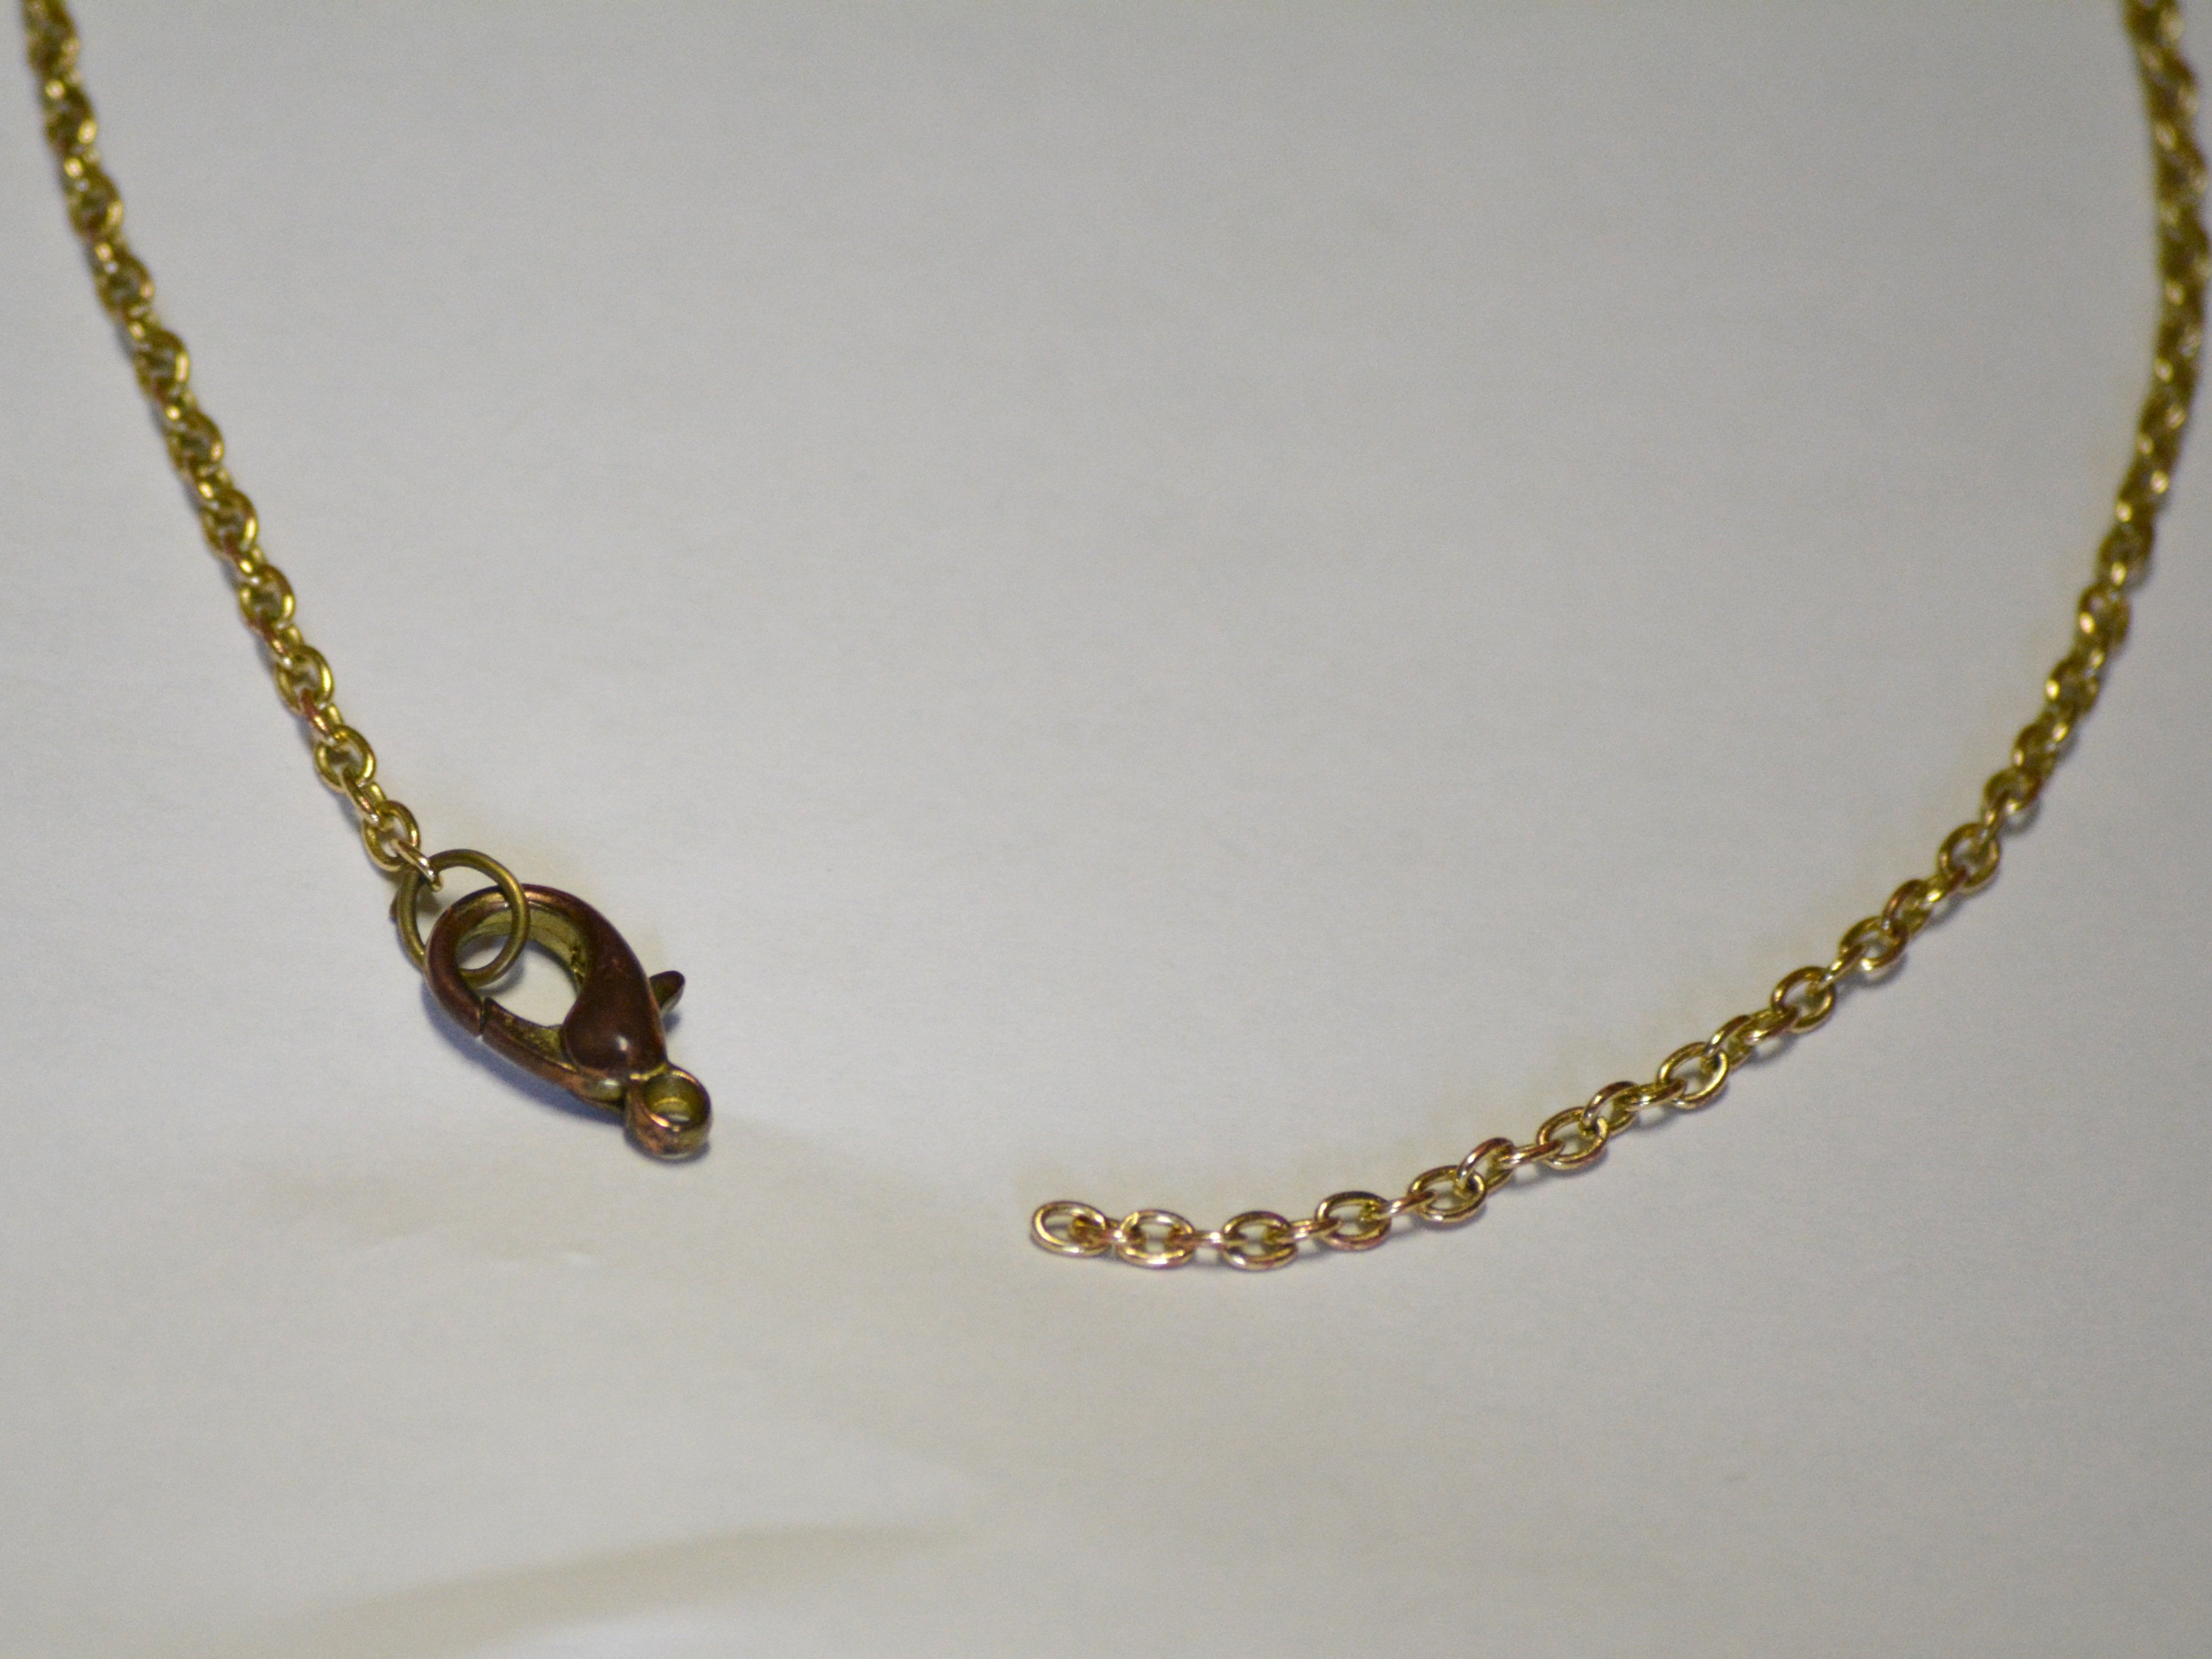
Image: www.ifixit.com
How To Fix A Necklace
